
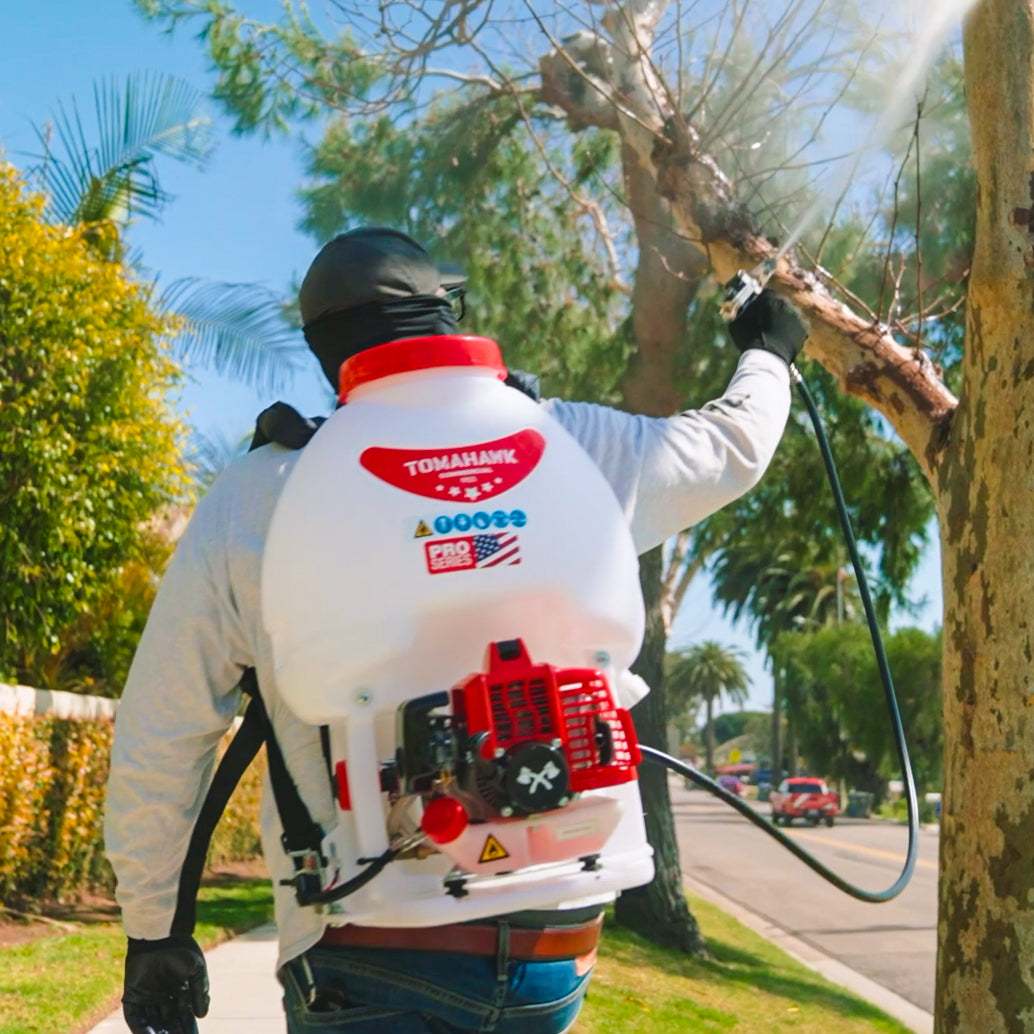
Tomahawk Motorized Sprayers are versatile tools widely used in agriculture, landscaping, pest control, and other industries that require efficient and accurate spraying. The pump is a crucial component of the sprayer responsible for pressurizing and distributing the liquid. Over time wear, tear, or corrosion from chemical may necessitate pump replacement. This blog will provide you with a step by step on how to replace the pump on a Tomahawk Motorized Sprayer.
Here's What You'll Need:
Tomahawk Backpack Sprayer
New Pump
Phillips Head Screwdriver
Needle Nose Pliers
10mm Wrench
10mm Combo Wrench
Step 1
Remove both plastic nuts from the bottom of the backpack sprayer.
Step 2
Using a 10mm Socket Wrench unscrew the three bolts at the bottom of the backpack sprayer.
Step 3
Remove the screws from the tanks support bolls.
Step 4
Remove the padding from the back of the backpack sprayer. You will need to pull forcefully for this step.
Step 5
Remove the screws securing the top of the sprayers base.
Step 6
Gently lift up the tank and lay it down to reveal the pumps hoses.
Step 7
Loosen the hose clamps by using a Phillips head screwdriver to remove the hoses from the chemical tank. Set the tank aside and wipe up any water that may have drained from the pump.
Step 8
Using the 10mm wrench remove the four screws connecting the pump to the engine. Once the pump has been disconnected loosen the hose clamps to remove the inlet and outlet hoses. Place the old pump aside.
Step 9
Grab the new pump connect the inlet and outlet hoses to the new pump with the screw driver and hose clamps.
Step 10
Align the new pump to fit into the back of the engine and fasten the 4 screws. Then reconnect the pumps hoses to the chemical tank and secure them in place with the hose clamps. Once everything is reconnected move the pump and engine system back into the upright position.
Step 11
Fasten the chemical tank to the base with the two screw. Then reconnect the back padding back on the base by pressing firmly on the brackets.
Step 12
Reposition the tank supports and fasten them in place with the two screws and washers. Secure the engine to the base with the three nuts and washers.
Step 13
Fasten the tank supports in place with the two plastic nuts.
With that your new pump is installed and your backpack sprayer is ready to go with proper care you may actually be able to avoid replacing your sprayer's pump. To ensure optimal performance and longevity of your sprayer regular maintenance is essential.


