
In today's fast-paced world, managing large spaces and tight schedules can be a daunting task, especially when it comes to maintaining cleanliness. Tomahawk push sweepers are here to make your life easier, designed specifically to cover more ground with each pass. This not only helps you complete your cleaning tasks quicker but also ensures your floors sparkle in no time.
Let's walk through the simple steps to get your Tomahawk push sweeper up and running:
Step 1: Unboxing Start with carefully unboxing your new push sweeper. Remove all the parts and manuals from the package to ensure you have everything you need for a smooth assembly process.
Step 2: Assembly Tools The only tool you'll need for this assembly is a Phillips head screwdriver, making the process straightforward and hassle-free.
Step 3: Handle Adjustment Begin by adjusting the handles to an upright position. Loosen the knobs located at the base of each handle, then align the handlebar with the slots on each side of the base. Once aligned, tighten the knobs to secure the handles firmly in place.
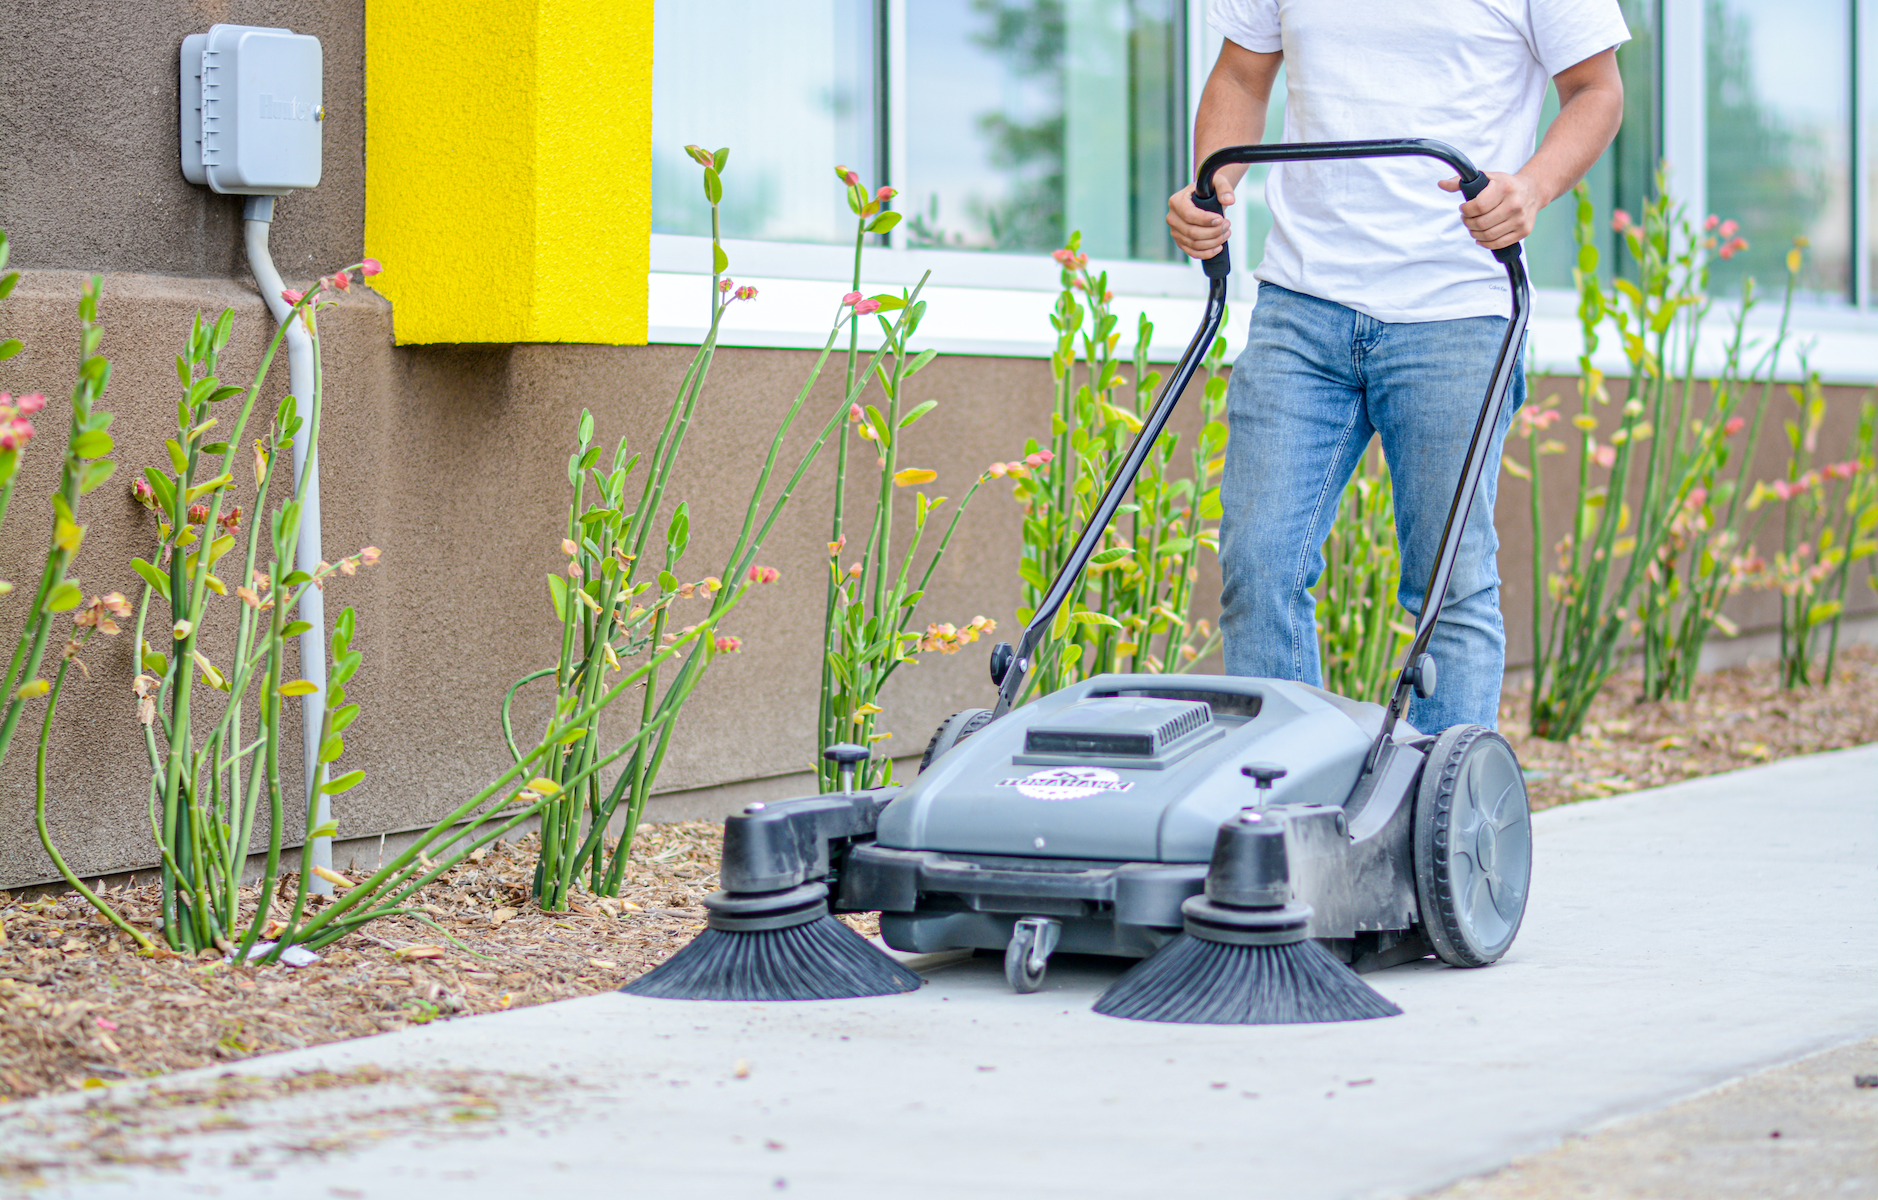
Step 4: Attaching the Side Brushes Proceed by lifting one of the sweeper's arms and unscrewing the three screws located underneath. Carefully align the side brush with the holes underneath the arm and use the Phillips head screwdriver to secure the brush with the three screws. Repeat this step for the sweeper’s other arm to ensure both side brushes are attached properly.
Step 5: Brush Adjustment The final step involves adjusting the side brush knobs and the main brush control found at the back of the sweeper. These adjustments allow you to raise or lower the brush roller underneath the sweeper to accommodate your specific cleaning needs. Whether you're dealing with light debris or need a deeper clean on various surfaces, these adjustments have got you covered.
By following these simple steps, your Tomahawk Push Sweeper is ready to tackle any cleaning job, from floors and sidewalks to garages and beyond, efficiently and effectively. For more insights and tips on making the most of your cleaning equipment, don't forget to click subscribe today!


