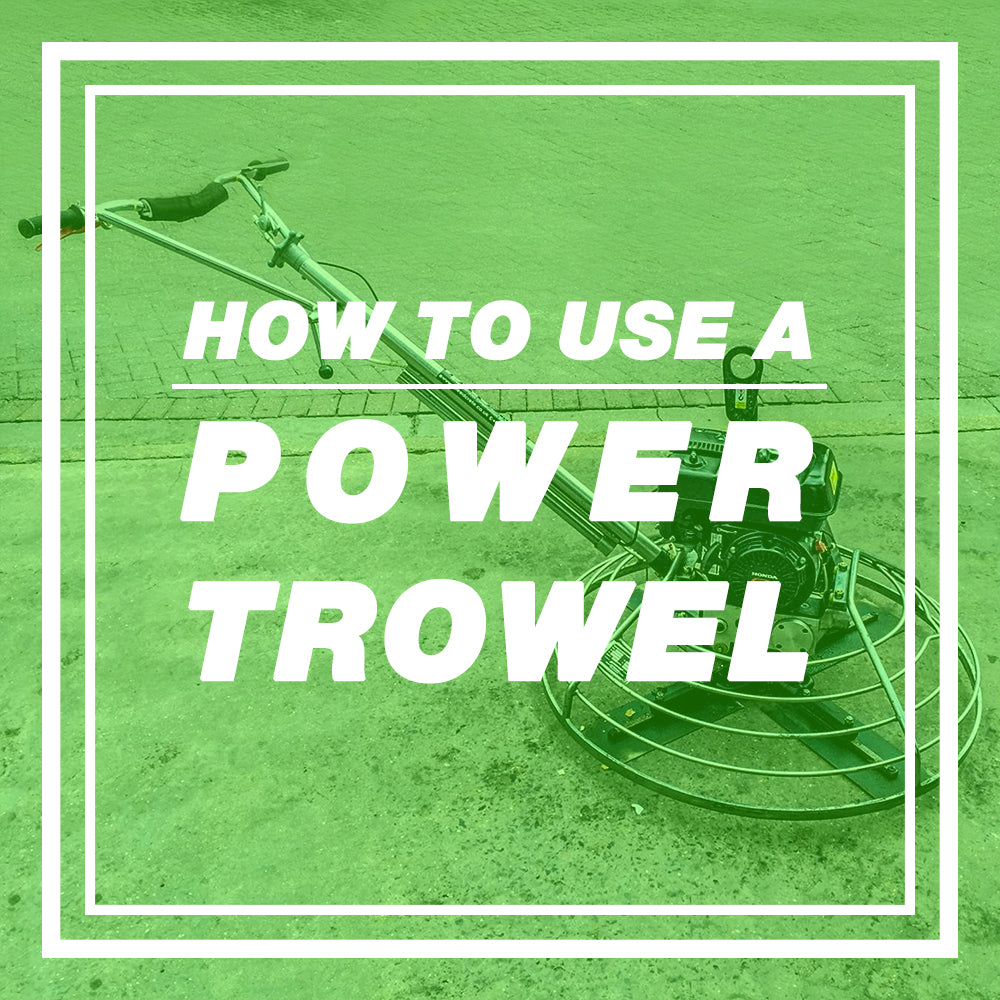
Power trowels (also known as finishers, concrete helicopters, or power floats) are designed to create smooth finishes on concrete slabs. Their spinning blades smooth wet concrete to create even surfaces. There are multiple sizes for power trowels. Depending on the scale of your project you may choose anywhere between a 24 inch to 48 inch walk behind trowel for medium sized slabs, which may range between 300 to 5,000 square feet. The use of larger ride on trowels are better for larger slabs, warehouses, and more. Power trowels are typically used when concrete slabs are too large to be finished by hand trowels.
Once you have poured your concrete slab, you may be wondering when is best to bring out the power trowel and begin finishing. Those who have been working with concrete for many years will be able to tell you when concrete is ready for the weight of a trowel. For those that are fresh to the concrete business, you will want to be careful to test your concrete in the first couple hours after the pour.
Note: Concrete sedimentation and setting will vary drastically, depending on the concrete mix, weather, and temperature.
A good test for those who are new to the business is to simply step onto the slab and then step off. Once the footprint you leave is about and 1/8 inch to 1/4 inch, your concrete should be ready to support the weight of a power trowel. You’ll be able to tell right away if you’re sinking in. Monitor your new concrete pour closely and stop if you believe the concrete is not ready, too soft, or unstable.
Power trowels smooth surfaces by using rotating blades. Blades may vary from different uses. Common blade types include finishing blades, float blades, float pans, and combination blades. You concrete should be floated first and finished second
Note: It is extremely important to always replace blades as a set. If all blades are not replaced at once, the differences in wear from one blade to another will damage the final concrete slabs finish.
With your float pan or float blades attached to the trowel, use two people to lift the concrete trowel onto the slab and fire up the engine. Due to the trowel rotating in a clockwise rotation, directing your power trowel where to go may be seem a bit counter-intuitive at first. All power trowels are directed by putting pressure on the handle bars.
Turning Left
Lift the Handles
Turning Right
Push down on the handles
To Move Forward
Turn the handles right or clockwise
To Move Backward
Turn the handles left or counterclockwise
Note: While you are floating your concrete, run your machine at a lower speed.
Once you have effectively floated you concrete you have remove the float pan or float blades and replace with combination or finishing blades, starting with a slight pitch. You will find that two or more passes may be necessary to achieve your desired finish. After each successive pass, raise the pitch slightly. The pitch should not exceed 1 inch. Increasing the pitch of the blade will exert greater pressure on the hardened concrete.
Note: Do not overwork your concrete or make sudden change in direction. Be consistent with your movement and try to overlap you passes evenly and only by a couple inches. Try not to stay in one spot for too long.
Blade Adjustments
To change the angle of the blade, rotate the pitch control crank at the top of the handles. Rotating the knob clockwise tilts the blades pitch angle, while rotating it counter clockwise fattens the blades.
Note: Raising the pitch of the blades at too great an angle may create chattering or trowel chatter. Chattering will create ridges while you are sweeping your trowel. If you notice trowel chatter, simply reduce the angle of your blades. As you continue troweling, the surface will begin to smooth and level again.
Understanding these processes will help better prepare you for your next concrete pour and concrete finishing project. We hope you found these steps helpful. You can find more information on how to pour a concrete slab here.


