
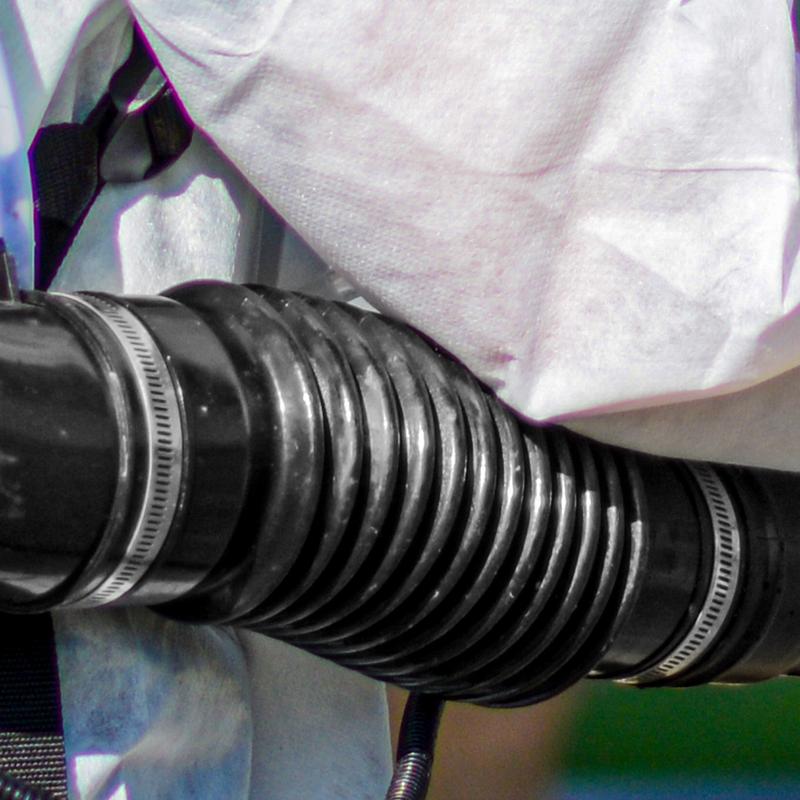
The Tomahawk 3.7 Gallon Turbo Boosted Backpack Fogger contains a long tube attached to the arm called the "ribbed tube", that sits in between the blower elbow and the connecting pipe. This tube helps you achieve an effective long distance spray, reaching into trees and tall buildings.
If your ribbed tube breaks, it's important to replace it to avoid any leakage when spraying or fogging.
Here's how to replace the ribbed tube on your TMD14:
What You Will Need
- Backpack Fogger (TMD14)
- Ribbed Tube
- Phillip-head screwdriver
Instructions
Step 1:
Using a Phillip-head screwdriver, unscrew the hose clamp that connects the connecting pipe to the ribbed elbow.
Step 2:
Detach the connecting pipe along with the rest of the arm from the ribbed tube.
Step 3:
Using a Phillip-head screwdriver, unscrew the hose clamp that connects the ribbed tube to the blower elbow.
Step 4:
Detach the old ribbed tube.
Step 5:
Slide the new ribbed tube over the blower elbow.
Step 6:
Use a Philip-head screwdriver to tighten the hose clamp that connects the ribbed tube to the blower elbow.
Step 7:
Attach the connecting pipe, along with the rest of the arm, to the new ribbed tube.
Step 8:
Use a Philip-head screwdriver to tighten the hose clamp that connects the connecting pipe to the blower elbow.
Once your ribbed tube is in place, your backpack fogger is ready to use!
We hope this guide helped you get the most out of your backpack sprayer. Check back in to Tomahawk's comprehensive library of manuals, assembly guides, videos, & more to power your world!


