
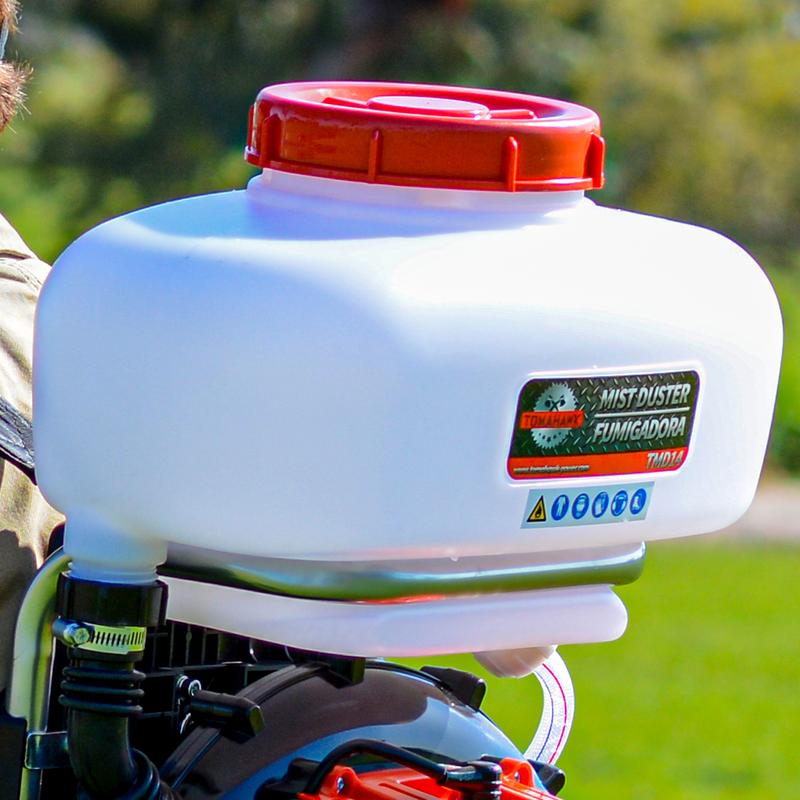
The Tomahawk 3.7 Gallon Turbo Boosted Backpack Fogger has a durable 3.7 gallon chemical tank that holds any desired pesticide or disinfectant. Located on the top of the backpack housing, the tank is designed to be firmly secured during spraying or fogging. If your chemical tank becomes damaged, it is vital to replace it to avoid any spilling.
Assembling a new tank is very easy, just follow these simple steps:
What You Will Need
- Backpack Fogger (TMD14)
- Chemical Tank
Instructions
Step 1:
Unscrew the black valve from the base of the left side of the chemical tank.
Step 2:
Remove the clear tube from the other side of the chemical tank.
Step 3:
Strike the bottom of the tank with the palm of your hand to loosen the tank from the housing.
Step 4:
Slide the new tank into the housing.
Step 5:
Slightly push down the new tank and apply little pressure to secure into the housing.
Step 6:
Screw on the black valve from the base of the left side of the chemical tank.
Step 7:
Reattach the clear tube from the other side of the chemical tank.
Now that your new chemical tank is in place, your backpack fogger is ready to use!
We hope this guide helped you get the most out of your backpack sprayer. Check back in to Tomahawk's comprehensive library of manuals, assembly guides, videos, & more to power your world!


