
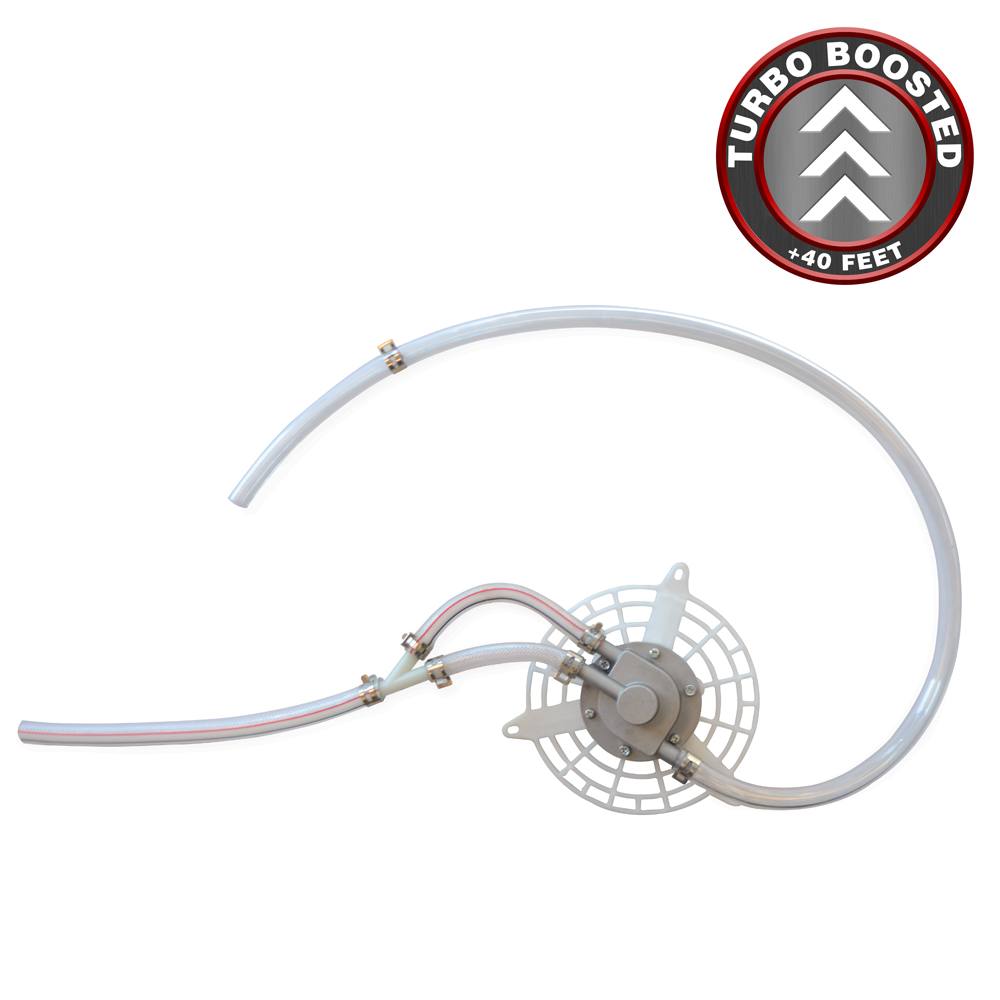
The Tomahawk 3.7 Gallon Turbo Boosted Backpack Fogger includes the Turbo Booster attachment. The Turbo Booster attachment is great for professionals needing stronger performance and power, producing at 300 PSI with an increased 40ft of vertical reach.
The attachment is included on all new TMD14 models, located behind the motor. If you choose to switch between dusting and misting, you will need to know how to disassemble and reassemble the Turbo Booster attachment.
Assembly is very simple, here's how:
What You Will Need:
- Backpack Fogger (TMD14)
- Turbo Booster
Instructions:
Step 1:
Remove all parts from your mist blower box. You will not need all parts for assembly.
Step 2:
Locate the brackets attached to the back padding.
Step 3:
Remove the brackets from the top left and right corners of the padding.
Step 4:
Remove padding.
Step 5:
Remove the black tube form the blower housing.
Step 6:
Pull the black valve from out of the chemical tank.
Step 7:
Disconnect the tube from the black valve. (Keep these pieces as you will need them later)
Step 8:
Remove the chemical tank from the housing.
Step 9:
Using an allen wrench, loosen the back plate bolt and washer.
Step 10:
Remove the bolt and washer. (Keep these pieces as you will need them later)
Step 11:
Lay the unit down on the engine side.
Step 12:
Remove the top 2 bolts. (Keep these pieces as you will need them later)
Step 13:
Remove the bottom 2 screws. (Keep these pieces as you will need them later)
Step 14:
Pull the unit backing off the blower housing.
Step 15:
Remove the fan guard from the blower housing.
Step 16:
Remove the nut and washer from the back of the blower housing.
Step 17:
Remove the nut and washer from the back of the blower housing.
Step 18:
Use a sealant on the aluminum shaft for a tight fit.
Step 19:
Place the aluminum shaft in the back of the blower housing.
Step 20:
Tighten the aluminum shaft.
Step 21:
Use a sealant around the inside of the plastic coupling for a tight fit.
Step 22:
Place the plastic coupling into the aluminum shaft.
Step 23:
Fit the booster pump onto the plastic coupling.
Step 24:
The booster pump tubes should be facing the left.
Step 25:
Fasten the booster pump to the blower housing.
Step 26:
Place the blower housing back on the back and base.
Step 27:
The booster pump tubes should hang to the left of the backpack straps.
Step 28:
Reattach the back plate using the bolt and washer.
Step 29:
Tighten the bolt with an Allen wrench.
Step 30:
Snap the padding brackets back into place.
Step 31:
Place the unit back on its engine.
Step 32:
Tighten the base using the bolts form Step 12.
Step 33:
Tighten the bottom screws from Step 13.
Step 34:
Reattach the chemical tank.
Step 35:
Find the chemical tank's tube and black valve.
Step 36:
Reattach the tube to the black valve.
Step 37:
Reattach the black tube to the blower housing.
Step 38:
Attach the shorter tube from the turbo boost to the base of the chemical tank.
Step 39:
Locate the longer booster pump tube near the base of the unit.
Step 40:
Attach the longer tube to the back of the throttle.
For step-by-step photo instructions, click here.
We hope this guide helped you get the most out of your backpack sprayer. Check back in to Tomahawk's comprehensive library of manuals, assembly guides, videos, & more to power your world!


