
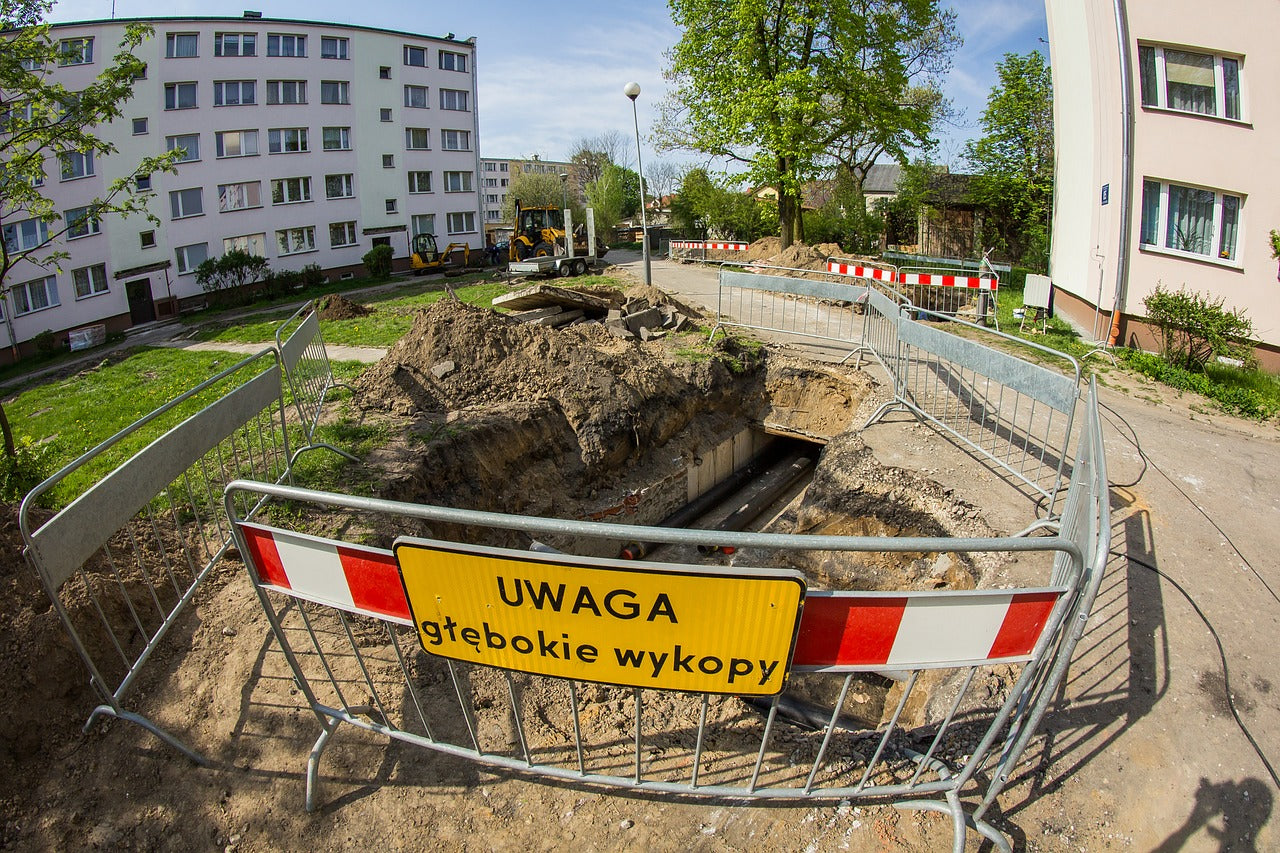
If your construction crew is not diligent about using caution when working around pipelines, water mains can be ruptured.
Water main breaks are a serious issue. In many cases, one main line can supply water to thousands of people in houses, apartments, condos, and townhouses. They can lead to road closures, damage property, and result in costly repairs. When a break occurs, it is evident that you are under a lot of pressure when you are the one responsible for the break.
More often than not, when a water main breaks on a jobsite, it is up to the crew to fix the problem.
In the unfortunate instance that a water main has broken, here’s what to do:
Causes Of Water Main Breaks
There are various reasons in which water mains can break. Here are some of the most frequent instances:
- Excavation work
- The age and material of the water pipes
- Pressure changes
- Ground settling
- Soil corrosion
- Changes in temperature
- Weather
- Proximity to construction work
“Breaks can happen at any time. The American Society of Civil Engineers reports that in the United States, an estimated 240,000 water main breaks occur every year.”
- Rachel Tracy, IDEXX Currents
Signs Of A Water Main Break
There are distinct signs and symptoms of a water main break. The most common are:
- Puddles on the ground

- Sinkholes
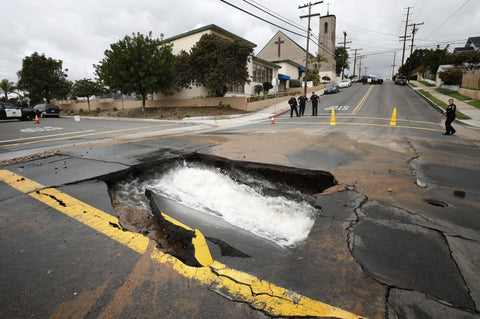
Photo By: San Diego Union Tribune
- Wet floors and walls

Photo By: Flood and Water Pumps UK
- Discolored dry walls
- Low water pressure
- Bad smelling water
- Unusual sounds such as bubbling, whistling, banging, dripping
How To Fix It
Tools Needed:
Using the right equipment during repair will make an important difference in whether repairs endure long-term or need to be fixed again shortly after.
- Impact drill- to measure the thickness of the slab being cut (indoor)
- Vibratory Rammer- to compact the soil (outdoor)
- Replacement Water Main Pipe
- Concrete Saw- to cut the parameter of the repair area
- Concrete Chainsaw- to cut the water main pipe
- Demolition Hammer- to break up concrete
- Excavator or shovel- to create the trench. Equipment will depend on the type of jobsite
Steps:
1. Identify the location of the break. In the case of a break during construction, this step takes care of itself.
2. Identify any underground utilities to avoid when cutting or digging. Other electrical or plumbing lines could be present nearby.
- These areas must be marked with flags or spray paint.
3. If there is damage on the road or sidewalk, the area must be blocked off. If possible, traffic will need to be routed around it.
4. Turn off all surrounding water sources.
5. Begin excavating to access the water main pipes.
- Heavy equipment is brought in for the excavation. Some excavations can be complex. Depending on what is underground and the equipment at hand, your crew may have to dig by hand around gas or electric lines.
- For inside jobs, use a concrete saw or concrete chainsaw to cut the areas where the break is located.

6. Drain the excess water from the trench.
7. For outside jobs, use a vibratory rammer to compact the soil after the hole is dug out. Different shoe plate sizes will be required based on the size of the trench. Vibratory Tamper Rammers have the ability to compact a deeper amount of soil than a plate compactor because the force from the plate is more direct. More soil can be added to each layer, making the process of filling and compacting the hole or trench much quicker.

8. Once the water main is reached, you will need to re-route the water to minimize service disruption by closing nearby valves. This process helps isolate the water main being worked on to stop the water flow.
9. The pipe then needs to be inspected to plan the best repair or replacement. In some cases, breaks require unique parts in order to be repaired. This can take hours or days, depending on the specialty of the part.
10. Once the water main is repaired, the main must be thoroughly cleaned, disinfected and flushed prior to being reconnected to the system. This process can take several hours, as it is essential to ensure safe water that meets and or exceeds all State and Federal Standards. On rare occasions, the main may break again as the water being turned on can cause a sudden increase in pressure causing weakened areas to separate and leak.
11. Once the break repair is complete and the main has been flushed and re-charged, the road or sidewalk must be restored to its original (or better) condition.
- Rapport concrete or asphalt to refill the trench.
After Fixing:
During a water main break, try to limit water usage. This involves avoiding things like drinking water from the tap, taking showers or baths, doing laundry, and running the dishwasher. Water can be contaminated with dirt, debris, and bacteria during a break.
Once it is repaired, open all water fixtures and let the water run thoroughly until it is clear.


