
In this guide we will discuss the following concepts, compaction equipment, and methods:
- Failure Plane
- Gravity Retaining Walls
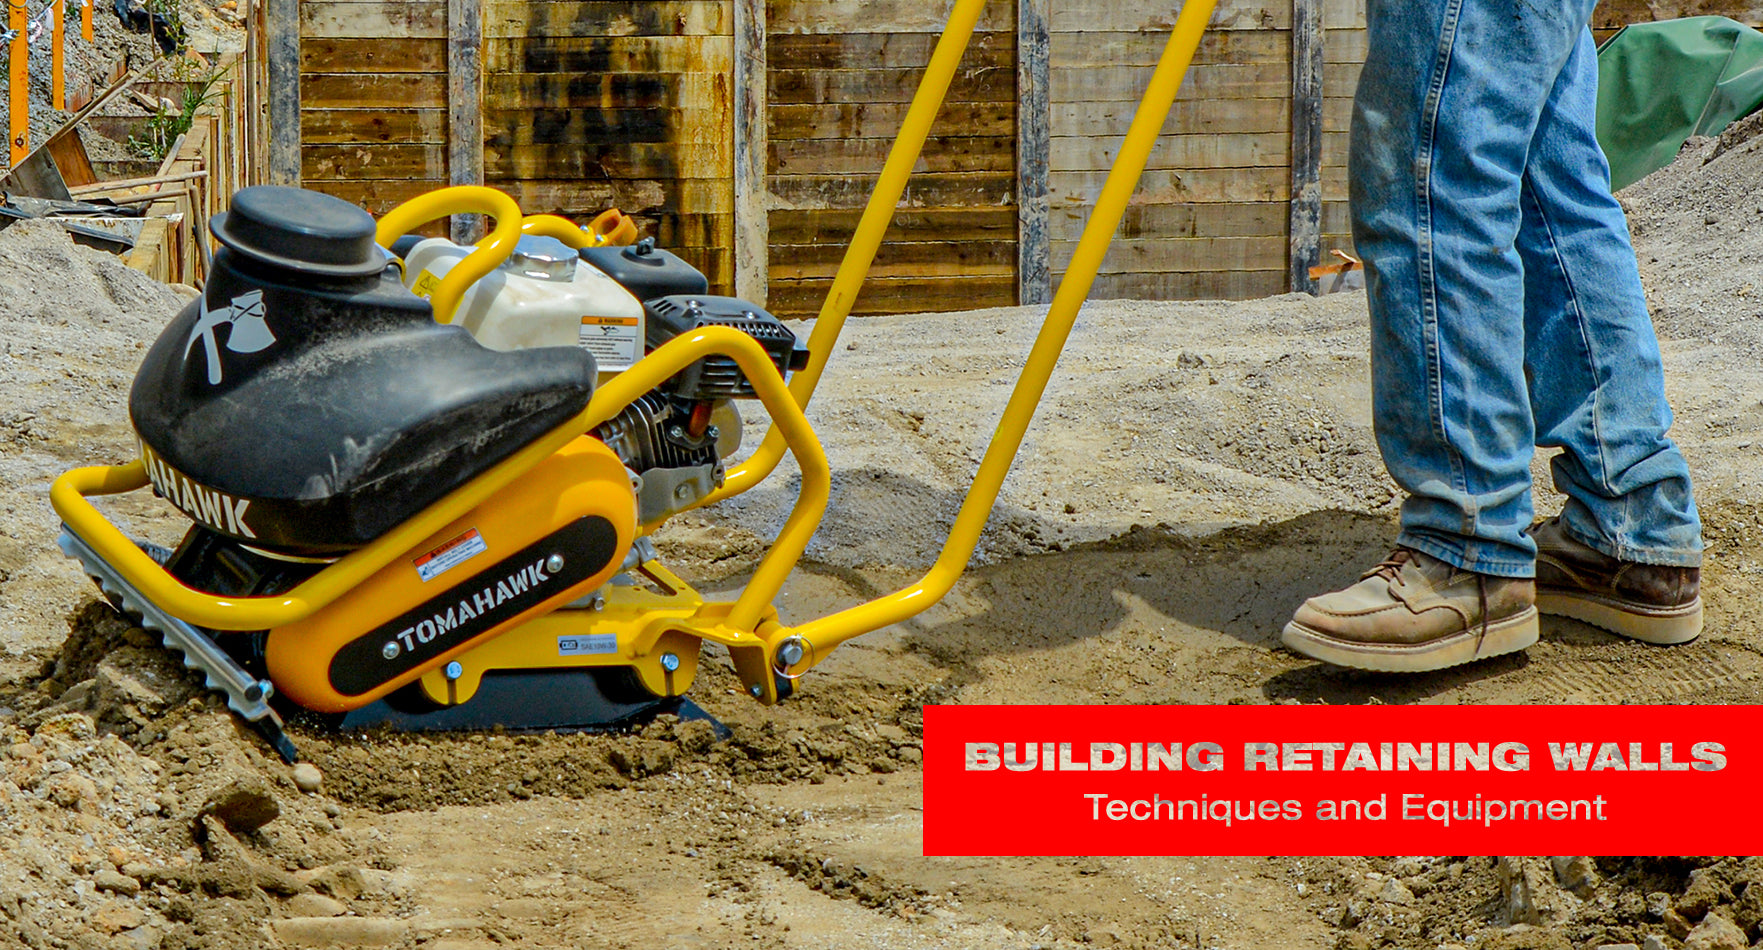
- Plate Compactor
- Tamping Rammer
- Retaining Wall Block
- Reinforcing Grid
Tools for building your retaining wall
- Plate compactor or tamping rammer, which can be found at your local rental yard or here.
- Hammer for building the retaining wall
- Level to make sure everything is balanced and in line
- Shovels to handle the backfill material
- Tape measure for measuring the area for your retaining wall
Materials for the project include
- The masonry block or decorative retaining wall block for building your wall. Masonry blocks are concrete blocks you can use to build your retaining wall. These have major advantages over bricks or timber. You also have options to pick from- solid blocks and hollow blocks- whichever seems suitable for your requirements. Hollow blocks are used when you need to hold pillars or build any complex structure.
- Gravel for the backfill. Try to use a mixture of fine and coarse gravel. Start with coarse on the bottom to allow water to flow around wall.
- Filter fabric to be used between the gravel and the top-soil to mitigate pore clogging.
- Impervious soil for compaction purposes
- A perforated pipe can be installed behind the wall to drain the water with the drainage tile at the top to avoid water collecting on top of the fill.
- Reinforced grid material, a metal mesh that puts adequate force on the backfill to guide the pressure of the soil downwards to ensure it doesn’t act against the wall.

The Basics
You may think a retaining wall would have to hold all the weight of the soil behind it. But the truth is it only needs to hold the soil in front of the slope of the so-called failure plane.
The failure plane is the naturally occurring slope you might observe in your uneven yard. Imagine the elevated ground in your garden and the slope at which it falls down on the edges. This downward slope is what we call the failure plane. The name also suggests how the angle of the slope causes any soil on top of it to fail to stay in place. Any soil placed in front of it is bound to fall victim to gravity and slide down. Retaining walls keep this excess soil in place and also give your elevated plane a more polished and groomed look.
Now, since we know how much pressure the retaining wall will be subjected to, let's talk about the structure itself.
A strong base is crucial to any and every structure, big or small. So how do you build a strong base for your retaining wall? If we talk about the depth of the base, then make sure it's 1/10th of the total height of the wall. Doing so basically creates an anchor for your wall, which is firmly placed underground to protect the wall from falling.
When building the wall itself, we must ensure the pressure exerted by the soil is directed downwards and not against the wall. We can achieve that by two methods- soil compaction and building the wall at an angle.

PC: Family Handyman
Soil Compaction
Soil compaction is an important step in building a strong and steady retaining wall that will beautify your garden for years to come. Since there's a lot to cover there, we'll talk about in a minute. Before that, let's discuss the other method.
When we talk about building the retaining wall at an angle, we plan to make it lean towards the soil, i.e., inwards and not outwards in a structure called a gravity retaining wall. This way, we can almost, if not entirely, balance the pressure exerted by the soil with the pressure of the wall against each other.
You don’t necessarily have to make the wall bend, just place every other layer of blocks or timber in steps, keeping it slightly behind with some space in the front instead of placing it directly on top of the lower layer of block or timber. The structure will resemble steps of staircase except with smaller treads. Doing it with every layer will help you achieve the desired outcome.
 PC: The Basic Woodworking
How To Compact Soil
Soil compaction helps direct the force generated by the weight and pressure of the soil downwards.Think of it this way, if you had a longer failure plane, then you'd have to add more fill, and that would increase the weight and pressure, which would hurt your retaining wall over time and eventually cause it to fall. We do not want that.
What can you do? Use compaction. How? First, gather your compaction equipment, which would be a plate compactor or tamping rammer. You can also use a compacting roller if you don't want to use the plate. In fact, there are many other options for you to choose from, which we'll discuss in the next section.
You can follow our guide to the Top 10 Tools for Compacting Soil. Once you're set with your compaction equipment, you can start with the actual work.

Build The Retaining Wall
Start with deciding how many layers would be appropriate for the height of your retaining wall. Usually, a couple of 3-4 inches layers do the trick. But of course, you can decide and change it according to your requirements.
Place the material in the said amount and compact it with your plate compactor. Make sure the compactor is heavy so it can do its job right. Or you might have to waste unnecessary time on a single layer of compaction before you move on to the next.
Afterwards, you place the reinforcing grid to make sure the material stays in place and repeat the process for the second layer. Reinforcing grid is a metal mesh that represses the fill and puts enough pressure on it so it stays in place after compaction. Note, you won’t need the reinforcement grid for smaller walls, but make sure you use them for taller ones. Continue this until you have covered the entire height of the wall.
Another important tip, don’t fill the retaining wall with topsoil. It will easily break down, settling and making room for water to collect and damage the structure. Sandy or gravelly materials are a better option for compaction.
After discussing all the nitty-gritty of building a retaining wall, I’m sure you will find your way around making one yourself if not for your garden; for a small, personal project to get some hands-on experience if nothing else.


2 comments
Thomas Clarence
It was really informative when you explained that a retaining wall is used to hold the weight of soil and prevent it from eroding. As far as I know, water is what makes soil erode the most. It seems like hilly and humid areas are the places where you would find the most retaining walls. https://www.bazzasfencing.com.au/concrete-retaining-walls
Scott
Awesome articles, thank you for taking the time to share your thoughts and insights! 🙂
Aron Ambrus Construction