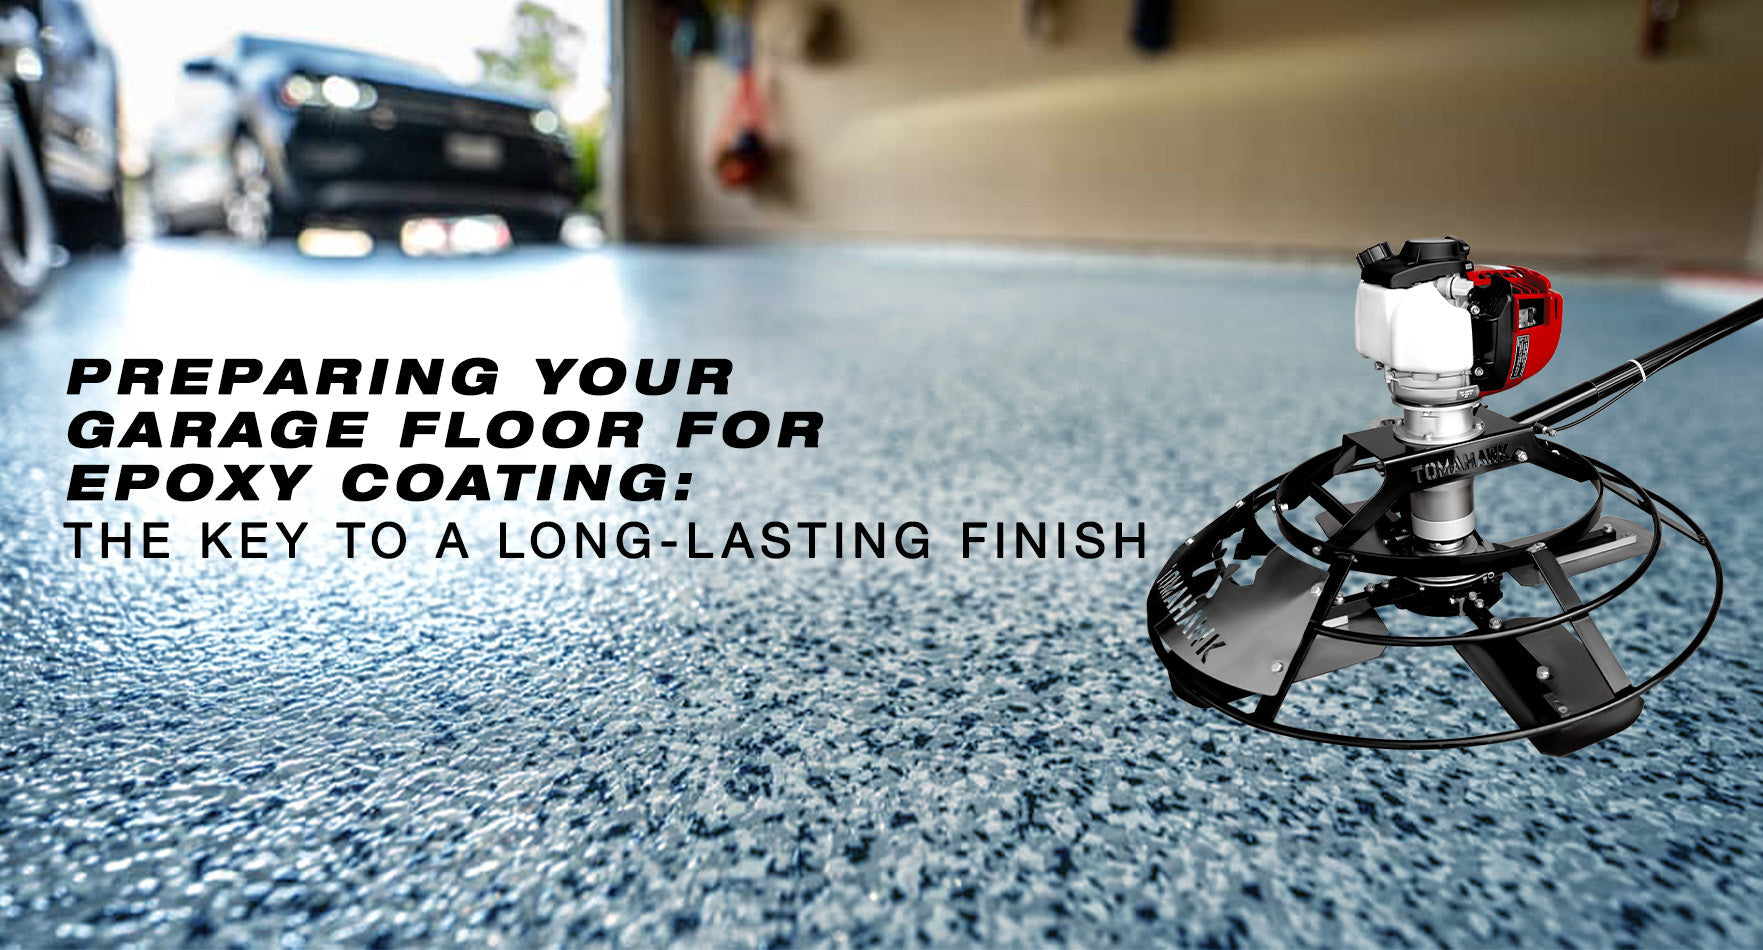
Applying an epoxy coating to your garage floor is one of the most durable and attractive upgrades you can make to the space. Whether you're aiming for a showroom-style finish or a high-performance work surface, the success of your epoxy installation depends heavily on how well you prepare the floor. Poor prep can lead to bubbling, peeling, or poor adhesion—issues that are difficult and expensive to fix later. In this guide, we’ll walk through the critical steps for preparing your garage floor for epoxy, and explain how using a professional-grade scrubber like those from Tomahawk can make the process faster and more effective.
Why Cleaning and Preparation Matter
Concrete is porous, and over time it accumulates dust, oil, grease, and other contaminants that can prevent epoxy from bonding correctly. Even if the floor looks clean to the eye, invisible residues may remain. If you skip thorough cleaning and preparation, your epoxy coating might not adhere properly, leading to flaking or delamination after just a few months. Proper prep removes both surface grime and embedded contaminants, giving the epoxy a strong surface to grip.
Step 1: Clear and Inspect the Floor
Start by removing everything from the garage—vehicles, tools, storage units, mats, and shelving. Sweep the floor with a heavy-duty broom to eliminate loose debris. Inspect the floor for cracks, oil stains, or previous coatings. Any surface damage should be repaired and old coatings removed to ensure a uniform epoxy bond.
For older garages, areas with built-up materials or damaged concrete may need heavy-duty tools like the Tomahawk Electric Demolition Jack Hammer to remove deteriorated patches or hardened overlays.
Step 2: Degrease and Deep Clean the Surface
Oil and grease are the biggest enemies of epoxy adhesion. Apply a concrete-safe degreaser to any stained areas and let it sit for several minutes. Scrub the spots with a stiff brush or, even better, use a floor scrubber for deeper, faster cleaning. Tomahawk’s 20-Inch Auto Floor Scrubber Cleaner and 18-Inch Electric Floor Scrubber Cleaner are ideal for this task. These battery-powered units combine scrubbing and suction in one motion—removing dirt, detergent, and water for a cleaner, dryer floor ready for the next step.
Step 3: Etch or Grind the Surface
If your concrete has a smooth finish, it needs to be etched or ground to create a rough profile that allows the epoxy to bond. Acid etching is one option, but it can be inconsistent and hazardous. Mechanical grinding is the preferred professional method. If you’re using an etching solution, rinse the floor thoroughly after treatment and allow it to dry completely. Whether etching or grinding, this step is essential for ensuring a strong epoxy bond.
Step 4: Final Cleaning and Drying
After etching or grinding, it’s critical to perform a final cleaning. Any leftover dust or residue can sabotage your coating. This is where Tomahawk’s floor scrubbers once again prove invaluable. A final pass with a scrubber ensures that the surface is free of particles and completely dry—both key conditions for epoxy application. Allow at least 24 hours of drying time before applying the epoxy to prevent moisture entrapment beneath the coating.
Step 5: Tape and Protect Surrounding Surfaces
Before you mix or roll out any epoxy, tape off baseboards, steps, walls, and other surfaces that shouldn’t be coated. Lay down plastic or painter’s drop cloths where necessary. Have all your tools—rollers, brushes, mixers, and spiked shoes—ready to go. Epoxy cures quickly, so preparation and timing are everything.
Proper preparation is what separates a flawless epoxy floor from a failed one. By investing time in degreasing, etching, and cleaning—and using equipment like Tomahawk’s floor scrubbers to streamline the process—you give your epoxy the best possible foundation. The result is a garage floor that looks professional, resists wear, and lasts for years to come. When it comes to coating success, it all starts with prep. Make it count.


