
Tomahawk offers a versatile range of Concrete Scarifier Drums designed for various surface preparation needs like trip hazard repair, removing coatings, roughening concrete, traffic line removal, and more. The scarifiers feature an easy drum change-out system, enhancing productivity and minimizing downtime. Replacing the blade drum kit on your Tomahawk Concrete Scarifier is a simple process. Follow these steps for a smooth replacement process.
Necessary Tools:
To get started, you’ll need a few key tools:
- An 8mm Allen Wrench
- A 26mm Socket
- An optional Breaker Bar (useful for tight bolts)
Step-by-Step Drum Replacement:
-
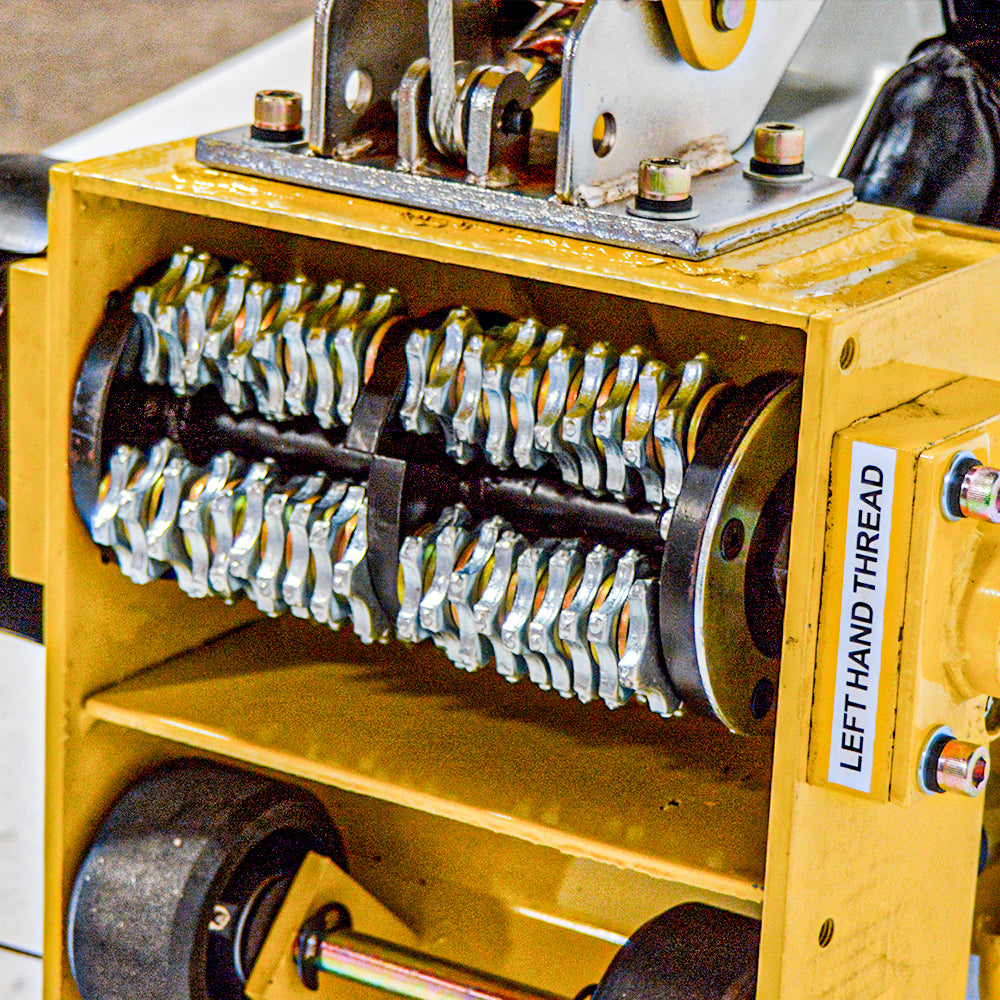
Access the Shaft: Begin by locating the shaft cover on the left side of the scarifier. Use your 8mm Allen wrench to remove the bolts. If they are too tight, the breaker bar can come in handy here.
-
Remove the Old Drum: With the cover off, use the 26mm socket to disconnect the shaft from the housing, releasing the old scarifier drum.
-
Install New Blades: Tilt the scarifier back on its handles to easily position the new blades inside the unit.
-
Reassemble: Reinsert the shaft through the new drum and into the housing, making sure it connects with the internal bearing.
-
Secure Everything: Tighten the drum and shaft system using the 26mm socket to ensure everything is snug and secure.
-
Replace the Cover: Attach the cover back and tighten the bolts to secure everything in place.
By following these steps, you can efficiently replace the drum kit on your Tomahawk Concrete Scarifier, minimizing downtime and enhancing productivity. It’s a simple process that keeps your equipment ready for whatever job comes next.
For more helpful tips and detailed tutorials, don't forget to click subscribe! Stay tuned for more content that helps you get the best out of your construction tools.


