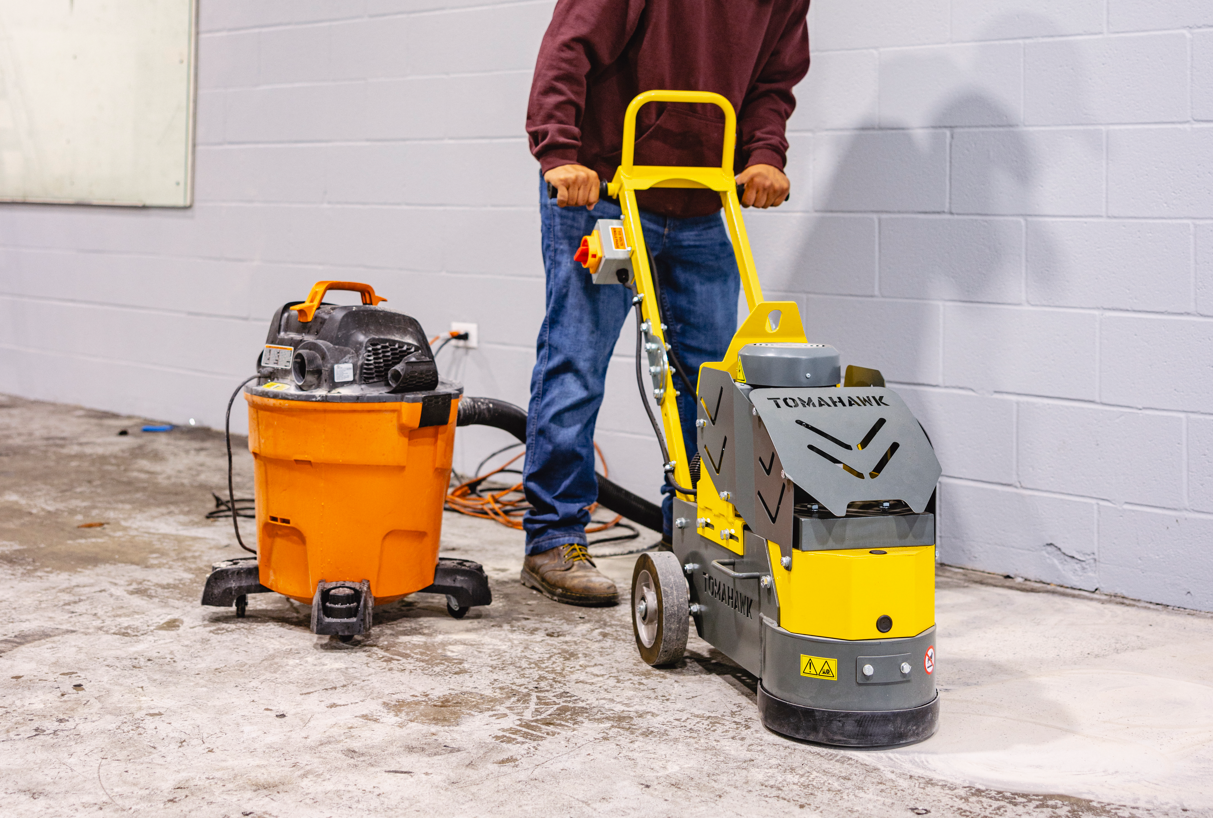
Epoxy flooring is a durable and aesthetically pleasing option for many spaces, but there may come a time when you need to remove it. Whether you're renovating or simply changing the flooring, using a floor grinder can make this task much easier. Here's a step-by-step guide on how to remove epoxy flooring with a floor grinder.
Step-by-Step Guide
1. Preparation
- Safety Gear: Ensure you have the appropriate safety gear including goggles, gloves, a dust mask, and ear protection. Safety is paramount when operating heavy machinery and dealing with potentially hazardous materials.
- Clear the Area: Remove all furniture and obstacles from the area you will be working on. Cover nearby items and areas with plastic sheeting to protect them from dust and debris.
- Inspect the Floor: Check the epoxy floor for any cracks or damages. Note these areas as they might need extra attention during the grinding process.
2. Set Up the Floor Grinder
- Select the Right Tools: Attach the appropriate grinding disc to the Floor Grinder. Diamond grinding discs are typically used for removing epoxy floors.
- Connect Power Supply: Ensure that the floor grinder is properly connected to a power source. Check the machine’s manual for any specific setup instructions.
3. Grinding the Epoxy Floor
- Start Grinding: Begin at one corner of the room and work systematically across the space. Turn on the floor grinder and lower it onto the epoxy surface.
- Apply Even Pressure: Apply consistent, even pressure as you move the grinder back and forth. Overlapping each pass slightly ensures that you don't miss any areas.
- Monitor Progress: Regularly check your progress to ensure the epoxy is being removed evenly. Adjust your speed and pressure as needed.
4. Clean Up
- Vacuum Debris: After grinding, use a high-powered vacuum to clean up dust and debris. This step is crucial to ensure a clean surface for any subsequent flooring application.
- Inspect the Surface: Check the floor to ensure all epoxy has been removed. If any areas still have remnants of epoxy, you may need to go over them again with the grinder.
5. Finishing Touches
- Final Clean: Once all the epoxy is removed, do a final clean of the floor. Wipe it down with a damp cloth to remove any remaining dust.
- Prepare for New Flooring: The surface should now be smooth and ready for the new flooring installation, whether it's new epoxy, tiles, or another type of floor covering.
Benefits of Using A Walk Behind Floor Grinder
Floor Grinders are an excellent tool for this job due to its powerful motor and high-quality grinding discs. Here are some key benefits:
- Efficiency: The grinder removes epoxy quickly and efficiently, saving you time and effort.
- Durability: Built with robust materials, the grinder withstands heavy use, ensuring long-term reliability.
- Ease of Use: Designed with the user in mind, it features ergonomic handles and easy-to-follow controls, making it accessible even for those new to floor grinding.
Conclusion
Removing epoxy flooring can be a daunting task, but with the right equipment and a systematic approach, it becomes manageable. Always prioritize safety and take your time to ensure a thorough job.
Related Articles
How to Repair Cracks with Epoxy: A Comprehensive Guide
Unlocking the Power of Precision: A Guide to Using a Floor Grinder
The Differences Between Concrete Scarifiers and Concrete Grinders


