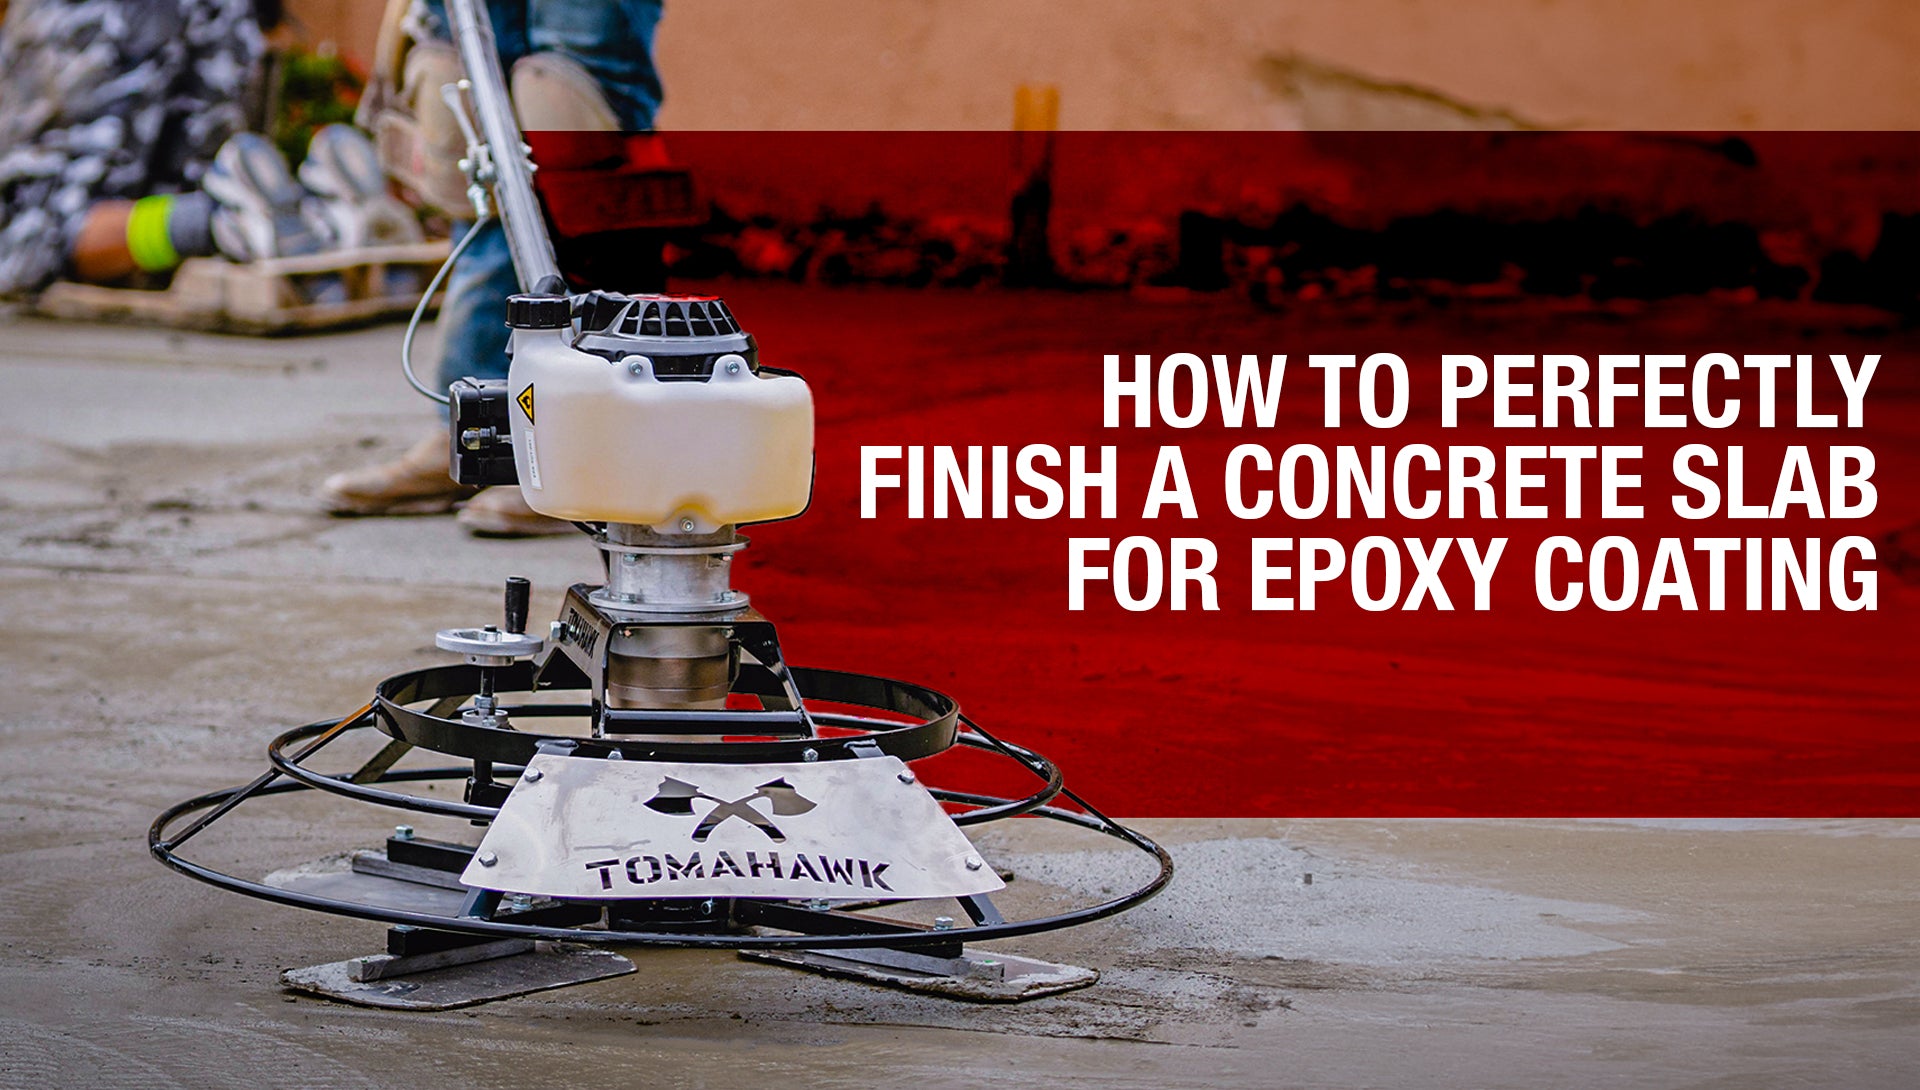
When preparing a concrete surface for epoxy coating, achieving a smooth and uniform finish is paramount. A properly finished slab not only ensures a better bond with the epoxy but also extends the longevity and enhances the appearance of the final surface. Power trowels, a preferred tool among professionals, play a crucial role in achieving these high-quality finishes. Here’s a step-by-step guide on how to use a power trowel effectively to prepare your concrete slab for epoxy application.
Understanding the Importance of a Smooth Finish
Before diving into the process, it's important to understand why a smooth finish is critical. Epoxy coatings adhere best to flat and uniform surfaces where the bond can be consistent across the area. Any imperfections in the concrete, like bumps or dips, can lead to epoxy pooling or improper curing, which compromises both aesthetics and durability.
Step 1: Pouring the Concrete
Start with a well-mixed concrete batch. Ensure the mix is uniform and free of lumps, which can affect the surface level and finish. Pour the concrete slab according to the required thickness and spread it evenly across the area to be covered.

Photo by chandler denise
Step 2: Initial Leveling
Once the concrete is poured, use a screed to level out the wet concrete. This process helps in getting rid of excess concrete and brings the top surface to an initial level of uniformity. Proper screeding is essential as it sets the foundation for the final finishing steps.
Step 3: Bull Floating
After screeding, immediately use a bull float. This tool helps in smoothing out the surface and bringing the finer particles of cement to the top, creating a better surface for further finishing. Make sure to cover the entire area uniformly without digging into the concrete.
Step 4: Applying Power Trowels
Once the bull float has done its job and the concrete has started to harden (but is still pliable), it's time to bring out the power trowel. For beginners or those working on smaller projects, a walk-behind power trowel is ideal. It offers better control and is easier to manage. Here’s how to use it effectively:

Tomahawk 24" Concrete Power Trowel Edger
Start at Low Speed: Begin troweling at a low speed to avoid digging into the softer concrete. This is crucial for maintaining the integrity of the level you established with screeding and bull floating.
Overlap Passes: Ensure each pass of the trowel overlaps the previous one to avoid leaving lines or ridges that can show through the epoxy.
Edge Work: Use an edging tool to finish the edges neatly, as the power trowel may not reach right up to the walls or frames.
Step 5: Final Finishing
Increase the blade angle slightly with each pass, gradually speeding up the trowel as the concrete hardens. This helps in compressing the surface and bringing more fines to the top, creating a polished finish. The final passes should be made at high speed with the blade angle adjusted to achieve the smoothest surface possible.
Step 6: Curing
Allow the concrete to cure adequately before applying the epoxy. This generally means waiting at least 28 days for the concrete to fully cure. During this period, keep the slab clean and free from any debris or stains that could affect the adhesion of the epoxy.
Conclusion: The Role of Power Trowels in Epoxy Preparations
Using a power trowel can significantly decrease the time and effort required to achieve a professional-grade finish on a concrete slab. Investing in a reliable power trowel ensures every job meets high standards and customer expectations. The consistent performance of a power trowel not only enhances the final look but also prepares the slab perfectly for a durable and visually appealing epoxy coating.

Photo by Brands&People


