
When a project demands your tamping rammer be running in optimum condition it is important to understand quick fixes. A broken rammer could stop a jobsite, costing you time and money.
A damaged rammer shoe may be due to loose hardware or improper operation leading the rammer shoe to hit itself against the spring cylinder. Additionally, the edge of the shoe can wear out over extended use. It is necessary to inspect your rammer shoe regularly to avoid any future damage to the machine. The shoe is a crucial part of your jumping jack and thankfully, it only takes a few steps to replace this part - helping you get back to work and avoid any future jobsite delays.
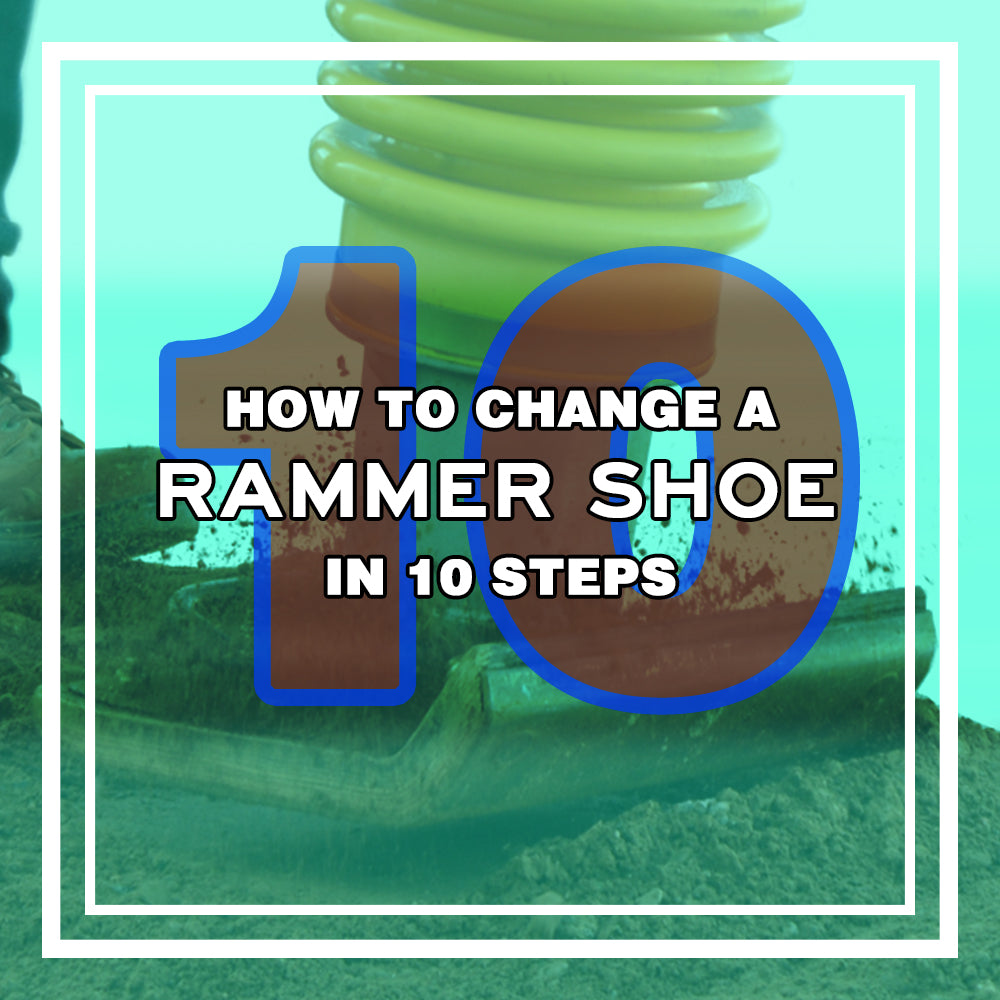
We will guide you through 8 simple steps including disassembly, repair, and replacement of your rammer’s shoe. We recommend having the following tools on hand to make your repair quick and easy.
• Ratchet wrench: 17mm
• Socket: ¾ (A) or 19mm
Stand your rammer up on solid ground, and follow these steps:
1. Remove the hex head cap screws from the top of the rammer shoe.
2. Lift the rammer to take it off the plate shoe.
Note: Clean the area, in case there is any dirt or debris.
3. Install the new rammer shoe with a brand new nut, also called locknut.
4. Torque the screws tightly, and inspect that the two pieces remain secure after approximately five hours of use.
5. Moreover, remove the other Four locknut (A) and lock washers (B)
6. Separate the bottom plate, and remove the remaining locknuts and plow bolts, on the bottom plate.
Note: Check that the plow bolts are in good condition, if so they can be reused. We recommend using a wire brush to clean the threads carefully.
7. Install the bottom plate by rotating the plow bolts in the rammer shoe until they are set in the notches of the bottom plate.
8. Torque the plow bolts, lock nuts.
Note: Re-torque the plow bolts and lock nuts after approximately five hours of use.
Make sure you have the right size shoe when performng this replacment. The most common size rammer shoe is 11’’x13’’, to fit into 12” trenches. Replace your rammer shoe whenever you see the edges deteriorating. After these eight steps, your equipment should be ready for use. Keep an eye on parts that require regular maintenance like the engine, bellow, or clutch. We suggest inspecting them regularly once the tamping rammer has been used for extended periods.
 |
Shoe alignment:
Once you have completed the replacement, ensure that the rammer shoe is appropriately aligned with the rest of the tamping rammer. To ensure proper alignment, lay the machine down, and face the front of the jumping jack.
1. Use the front edge of the shoe to match upwith the front of the rammer's cage handle. These should be the straightest parts of the machine and should align evenly.
2. Lay the rammer down on its front side, keeping the shoe's edge flush with an even floor.
3. Next check that the rammer's cage handle is flush with an even floor.
4. This will be the best alignment for the rammer. Next tighten the clamps around the bellow
5. Lift the rammer back up and inspect. Monitor the alignment during approximately five hours of use.
If you have any questions about the procedure or need spare tamping rammer parts, please feel free to contact us at support@tomahawk-power.com.
Lock nuts: Also called elastic stop nut. This nut is able to resist loosening under vibration. (Spanish: Contratuerca)
Plow bolts: Fasteners with non-protruding heads. These can be seen in road construction and heavy equipment, like in this case tamping rammers. (Spanish: Tornillo arado)


