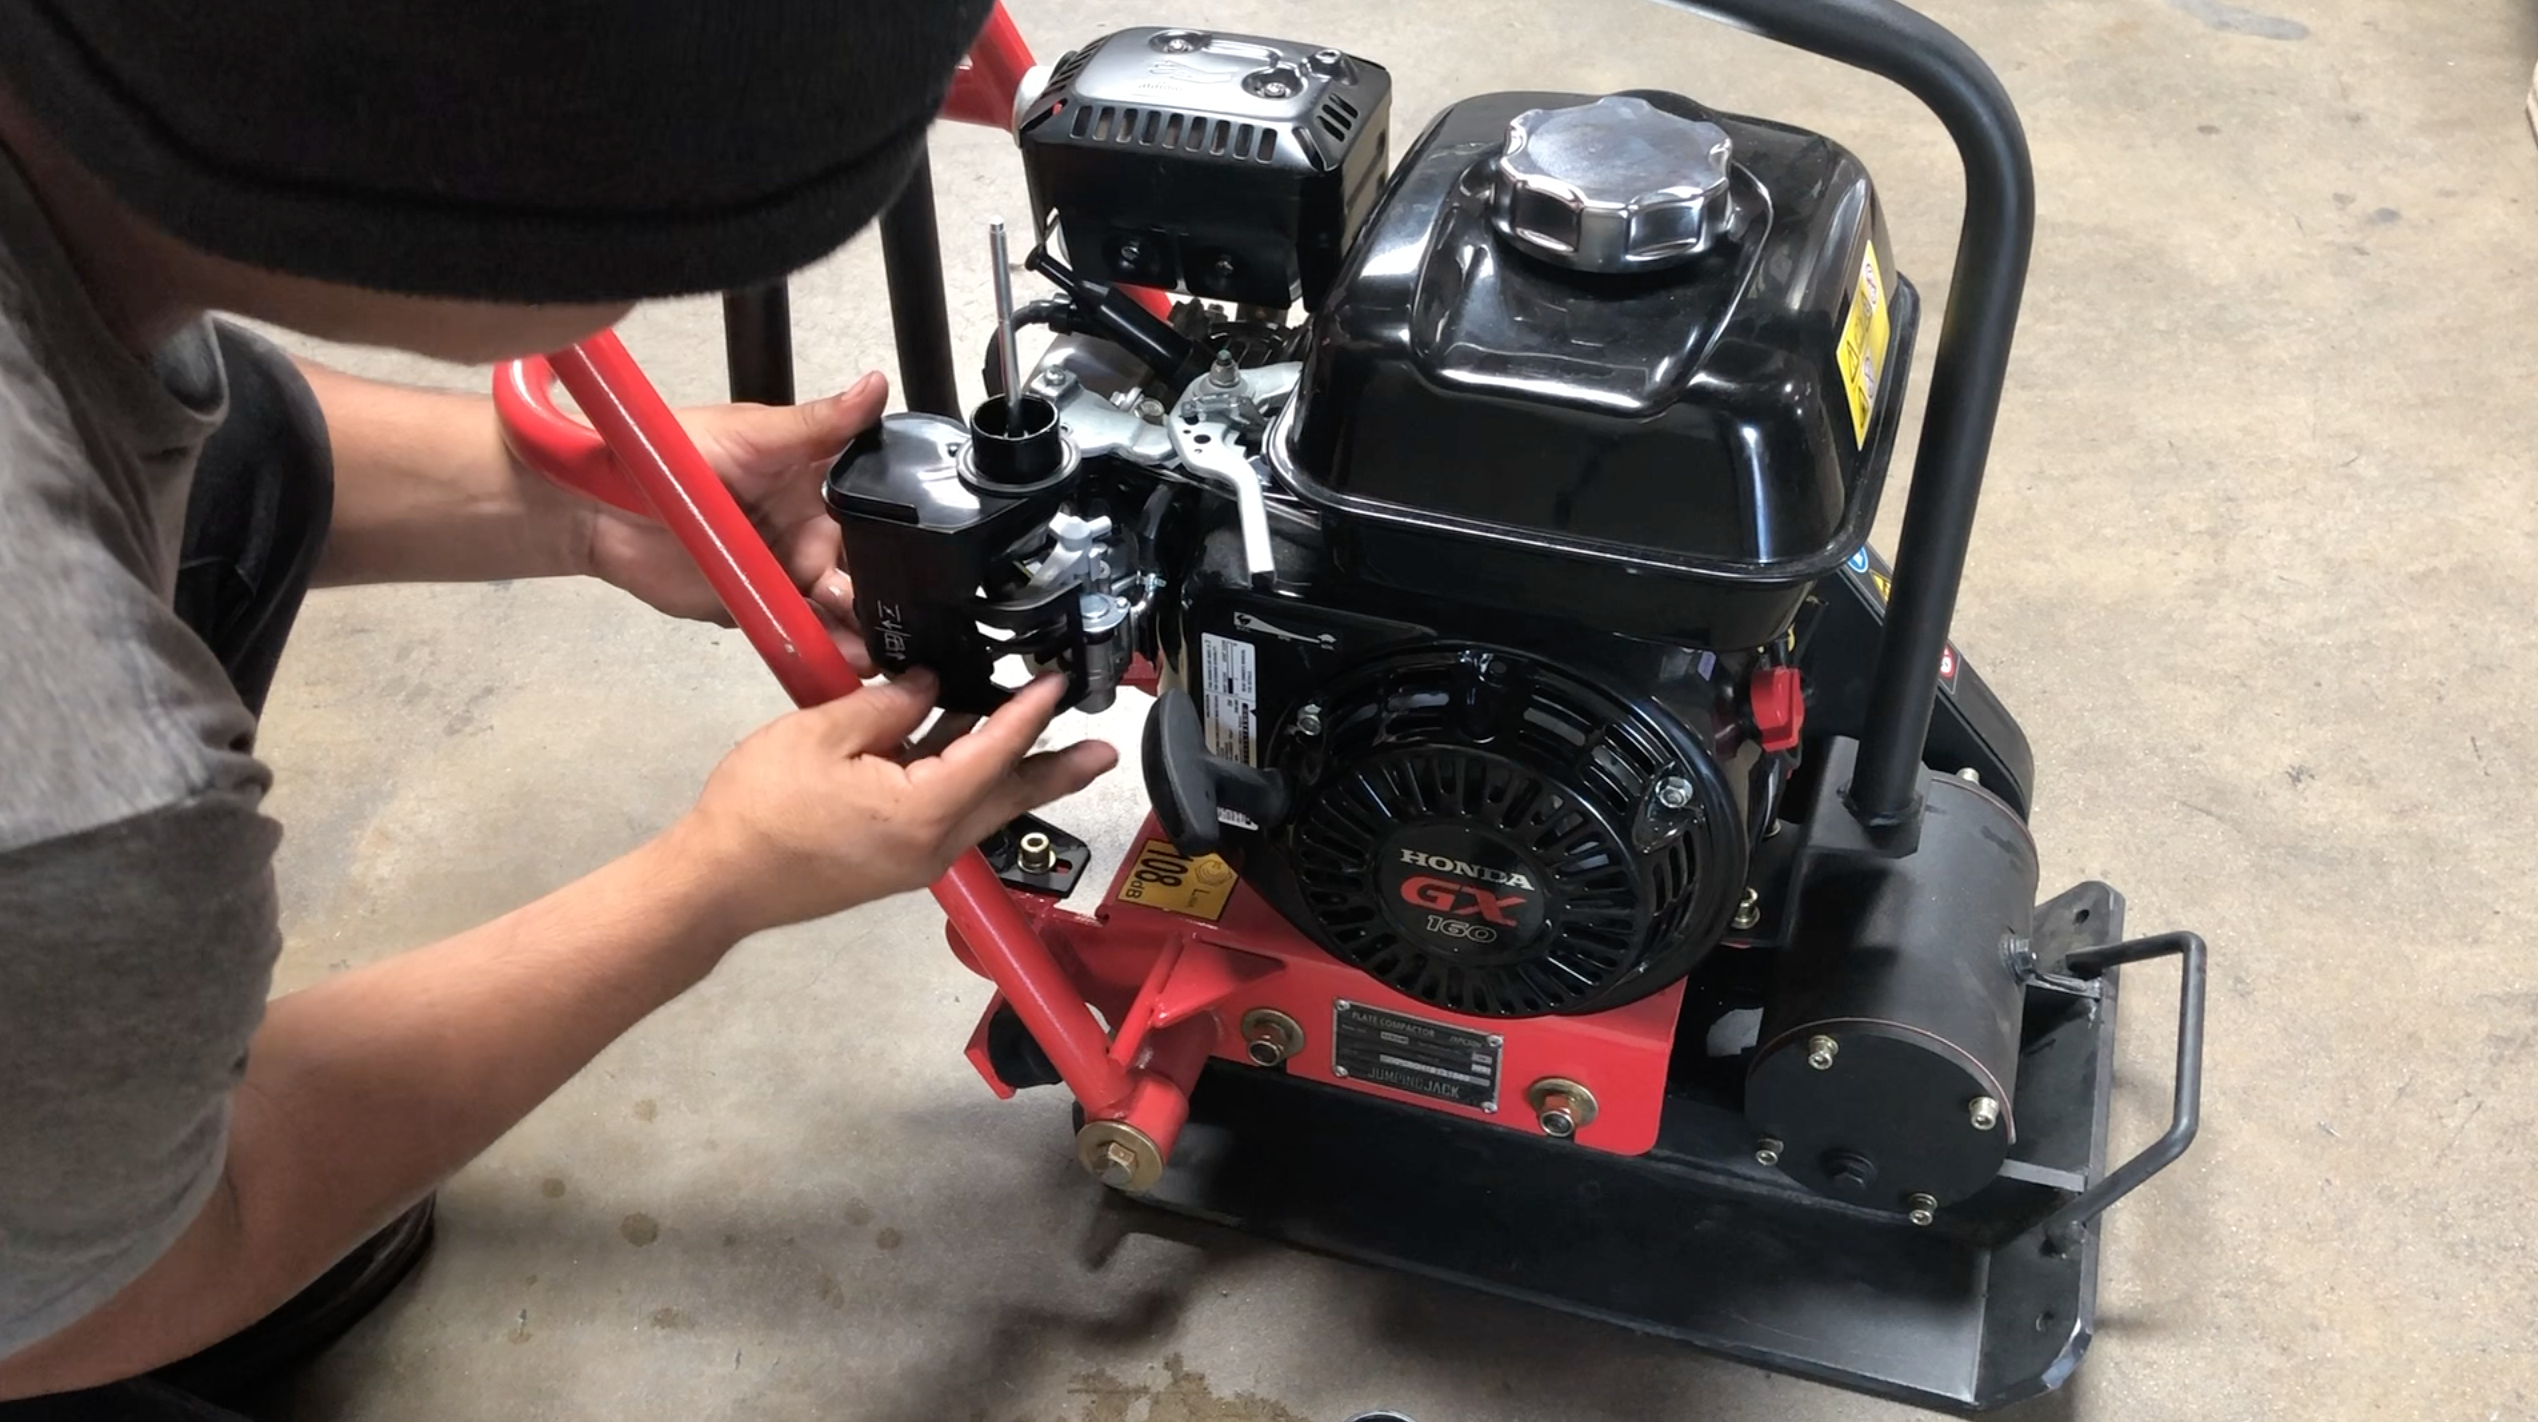
Over time, carburetors may become clogged, damaged, or simply worn out, leading to engine performance issues. Replacing a faulty carburetor is a straightforward DIY task that can save you time and money. Here's a step-by-step guide to help you through the process:
This is what You Will Need:
Honda GX160
New Carburetor
A carburetor gasket
A 10mm socket and ratchet.
And Needle Nose Plyers
First, unscrew the air filter cover and remove the air filter
Next, using a 10mm socket wrench, remove the three bolts fastening the cover in place.
Make sure the choke and fuel lever are pushed to the right to remove it smoothly.
Once you have a clear view of the carburetor, push the throttle bar forward and lift it and the smaller hook out of the top of the carburetor.
Then disconnect the fuel line using needle nose pliers to release the carburetor.
Grab the new carburetor and gasket and place it onto the engine and reconnect the throttle bar and hook.
Then reconnect the fuel line using needle nose pliers - securing it in place with a clip.
Next, replace the spacer and cover while aligning it with the breather tube.
Fasten it in place with the 3 bolts.
Finally, replace the gasket, air filter, and cover and fasten securely.
You have successfully replaced the carburetor on your Honda GX160 engine. By following this DIY guide, you've saved both time and money while ensuring your machine runs smoothly. Regular maintenance and care will help prolong the life of your engine and keep it performing at its best for years to come. If you encounter any difficulties during the process, consult the manufacturer's manual or reach out to the Tomahawk Support Team to ensure proper replacement.


