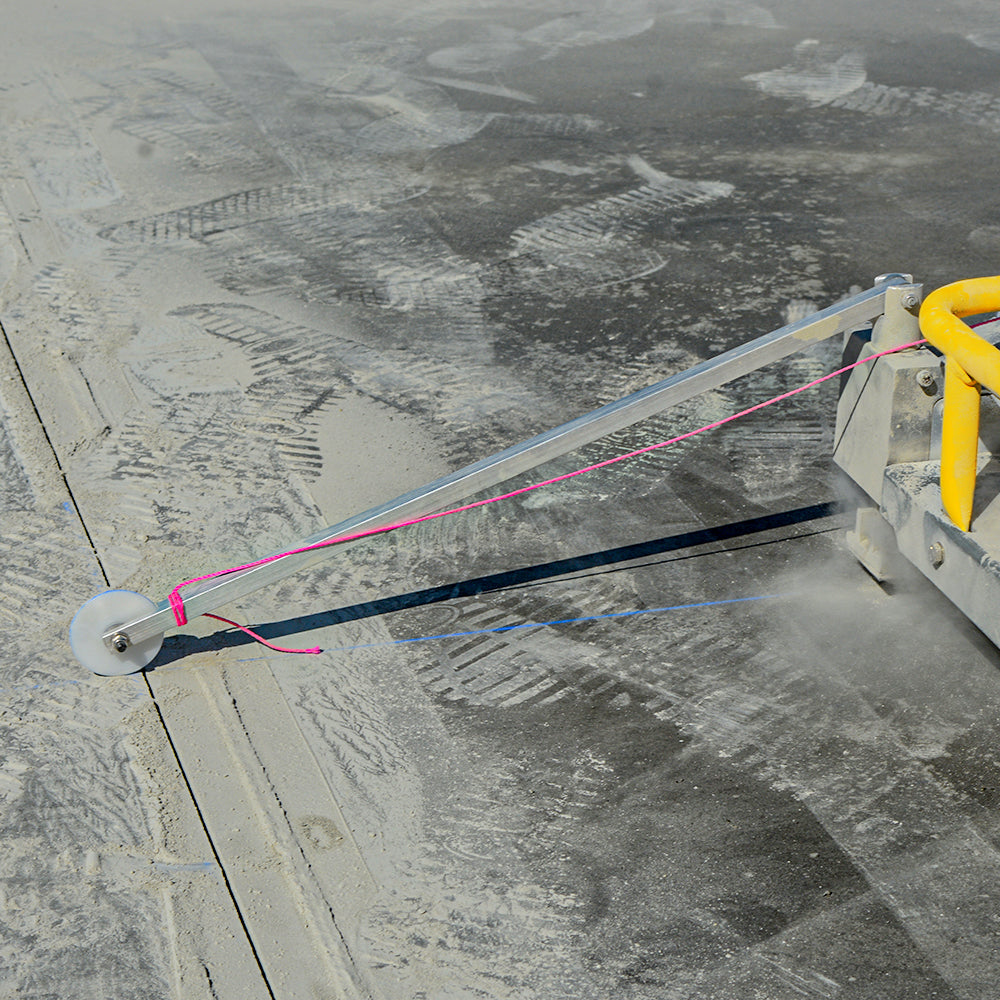
Concrete cutting is a common task in many DIY projects, such as remodeling, installing plumbing or electrical lines, or creating openings for windows and doors. Using a concrete saw allows you to make precise cuts in concrete quickly and efficiently. However, it's essential to understand the proper techniques and safety measures to achieve accurate results and ensure personal safety. In this blog post, we will provide a step-by-step guide on how to use a concrete saw for DIY concrete cutting projects.
Step 1: Safety First Before using a concrete saw, prioritize safety by taking the following precautions:
- Wear appropriate personal protective equipment (PPE), including safety goggles, ear protection, a dust mask, gloves, and steel-toed boots.
- Clear the work area of any debris, tripping hazards, or potential obstacles.
- Ensure that the concrete saw is in good working condition, and the blade is properly installed and sharp.
- Familiarize yourself with the manufacturer's instructions and recommended safety guidelines specific to your concrete saw model.
Step 2: Marking the Cutting Area Before making any cuts, carefully mark the area on the concrete where you need to cut. Use a chalk line or marking paint to create a clear guide for the saw. Measure and mark the desired cut line precisely, ensuring it aligns with your project's specifications.
Step 3: Setting Up the Concrete Saw
- Place the concrete saw on a stable surface, making sure it is secure and won't tip over during operation.
- Ensure the saw's water supply is connected and functioning correctly if the saw requires water for cooling the blade and reducing dust.
Step 4: Starting the Concrete Saw
- Prime the concrete saw by following the manufacturer's instructions. This typically involves setting the choke, fuel valve, and throttle to the appropriate positions.
- Place the saw on the ground or a stable surface, ensuring the blade is clear of any obstructions.
- Engage the saw's safety features and follow the specific starting procedure outlined in the manufacturer's instructions.
- Once the saw starts, allow it to warm up for a few moments before proceeding.
Step 5: Making the Cut
- Position yourself securely and maintain a firm grip on the saw handles.
- Align the blade with the marked cut line, ensuring the blade is perpendicular to the concrete surface.
- Slowly lower the blade onto the concrete, letting it gradually engage with the material. Apply steady pressure to maintain control as the blade cuts through the concrete.
- Use a smooth, continuous motion to guide the saw along the marked cut line. Avoid stopping or changing directions abruptly, as this can lead to uneven or jagged cuts.
- Allow the saw's weight and the rotation of the blade to do most of the work. Excessive force or pushing can strain the saw and lead to less precise cuts.
- Maintain a steady pace and avoid rushing the cutting process. Take breaks as needed to prevent overheating of the saw.
Step 6: Finishing and Clean-up
- Once the cut is complete, release the saw's throttle and allow the blade to come to a stop.
- Carefully lift the saw off the concrete surface, keeping the blade clear of the material.
- Remove any debris or dust from the cut area using a brush or vacuum.
- If necessary, use a hand file or abrasive material to smooth any rough edges or imperfections in the cut.
Step 7: Post-Cutting Maintenance
- After completing your concrete cutting project, it's essential to properly maintain the concrete saw. Follow the manufacturer's guidelines for cleaning the saw, inspecting the blade, and storing the equipment.
By following the proper techniques and safety measures, DIY enthusiasts can successfully use a concrete saw for various cutting projects. Remember to prioritize safety by wearing the necessary PPE and familiarizing yourself with the specific instructions for your concrete saw model. With practice and care, you can achieve accurate and professional-looking cuts in your concrete projects, adding precision and functionality to your DIY endeavors.


