
If you're looking to grow your own vegetables, herbs, or flowers in your backyard, a raised garden bed is a great solution. Raised garden beds provide a controlled environment for your plants and can improve soil quality, while also making gardening more accessible for people with physical limitations. However, before building your raised garden bed, it's essential to level the ground underneath. In this blog post, we'll provide a step-by-step guide on how to level the ground with a plate compactor before building a raised garden bed.
Step 1: Choose the Location for Your Raised Garden Bed The first step in building a raised garden bed is to choose the location. Look for a spot in your yard that gets plenty of sunlight and has good drainage. Avoid areas with trees or other vegetation that could compete with your plants for water and nutrients.
Step 2: Clear the Area Once you've chosen the location for your raised garden bed, clear the area of any debris, rocks, or vegetation. Use a shovel or rake to remove any large rocks or debris from the area.
Step 3: Mark the Area for Your Raised Garden Bed Using stakes and string, mark the area for your raised garden bed. Make sure to account for the width and depth of your garden bed, as well as any slopes or grades in the ground.
Step 4: Excavate the Ground Using a shovel or excavator, dig a trench along the perimeter of your marked area. The width and depth of the trench will depend on the height and length of your garden bed. Make sure to remove any loose soil and rocks from the trench.
Step 5: Compact the Soil Using a plate compactor, compact the soil in the trench to create a level and stable base for your raised garden bed. Start at one end of the trench and work your way towards the other end, making sure to overlap each pass slightly. This will ensure that the entire area is compacted evenly.
Step 6: Check for Levelness After you've compacted the soil, use a level to check that the trench is level from end to end. Adjust the soil as necessary to ensure that the base of your raised garden bed is level.
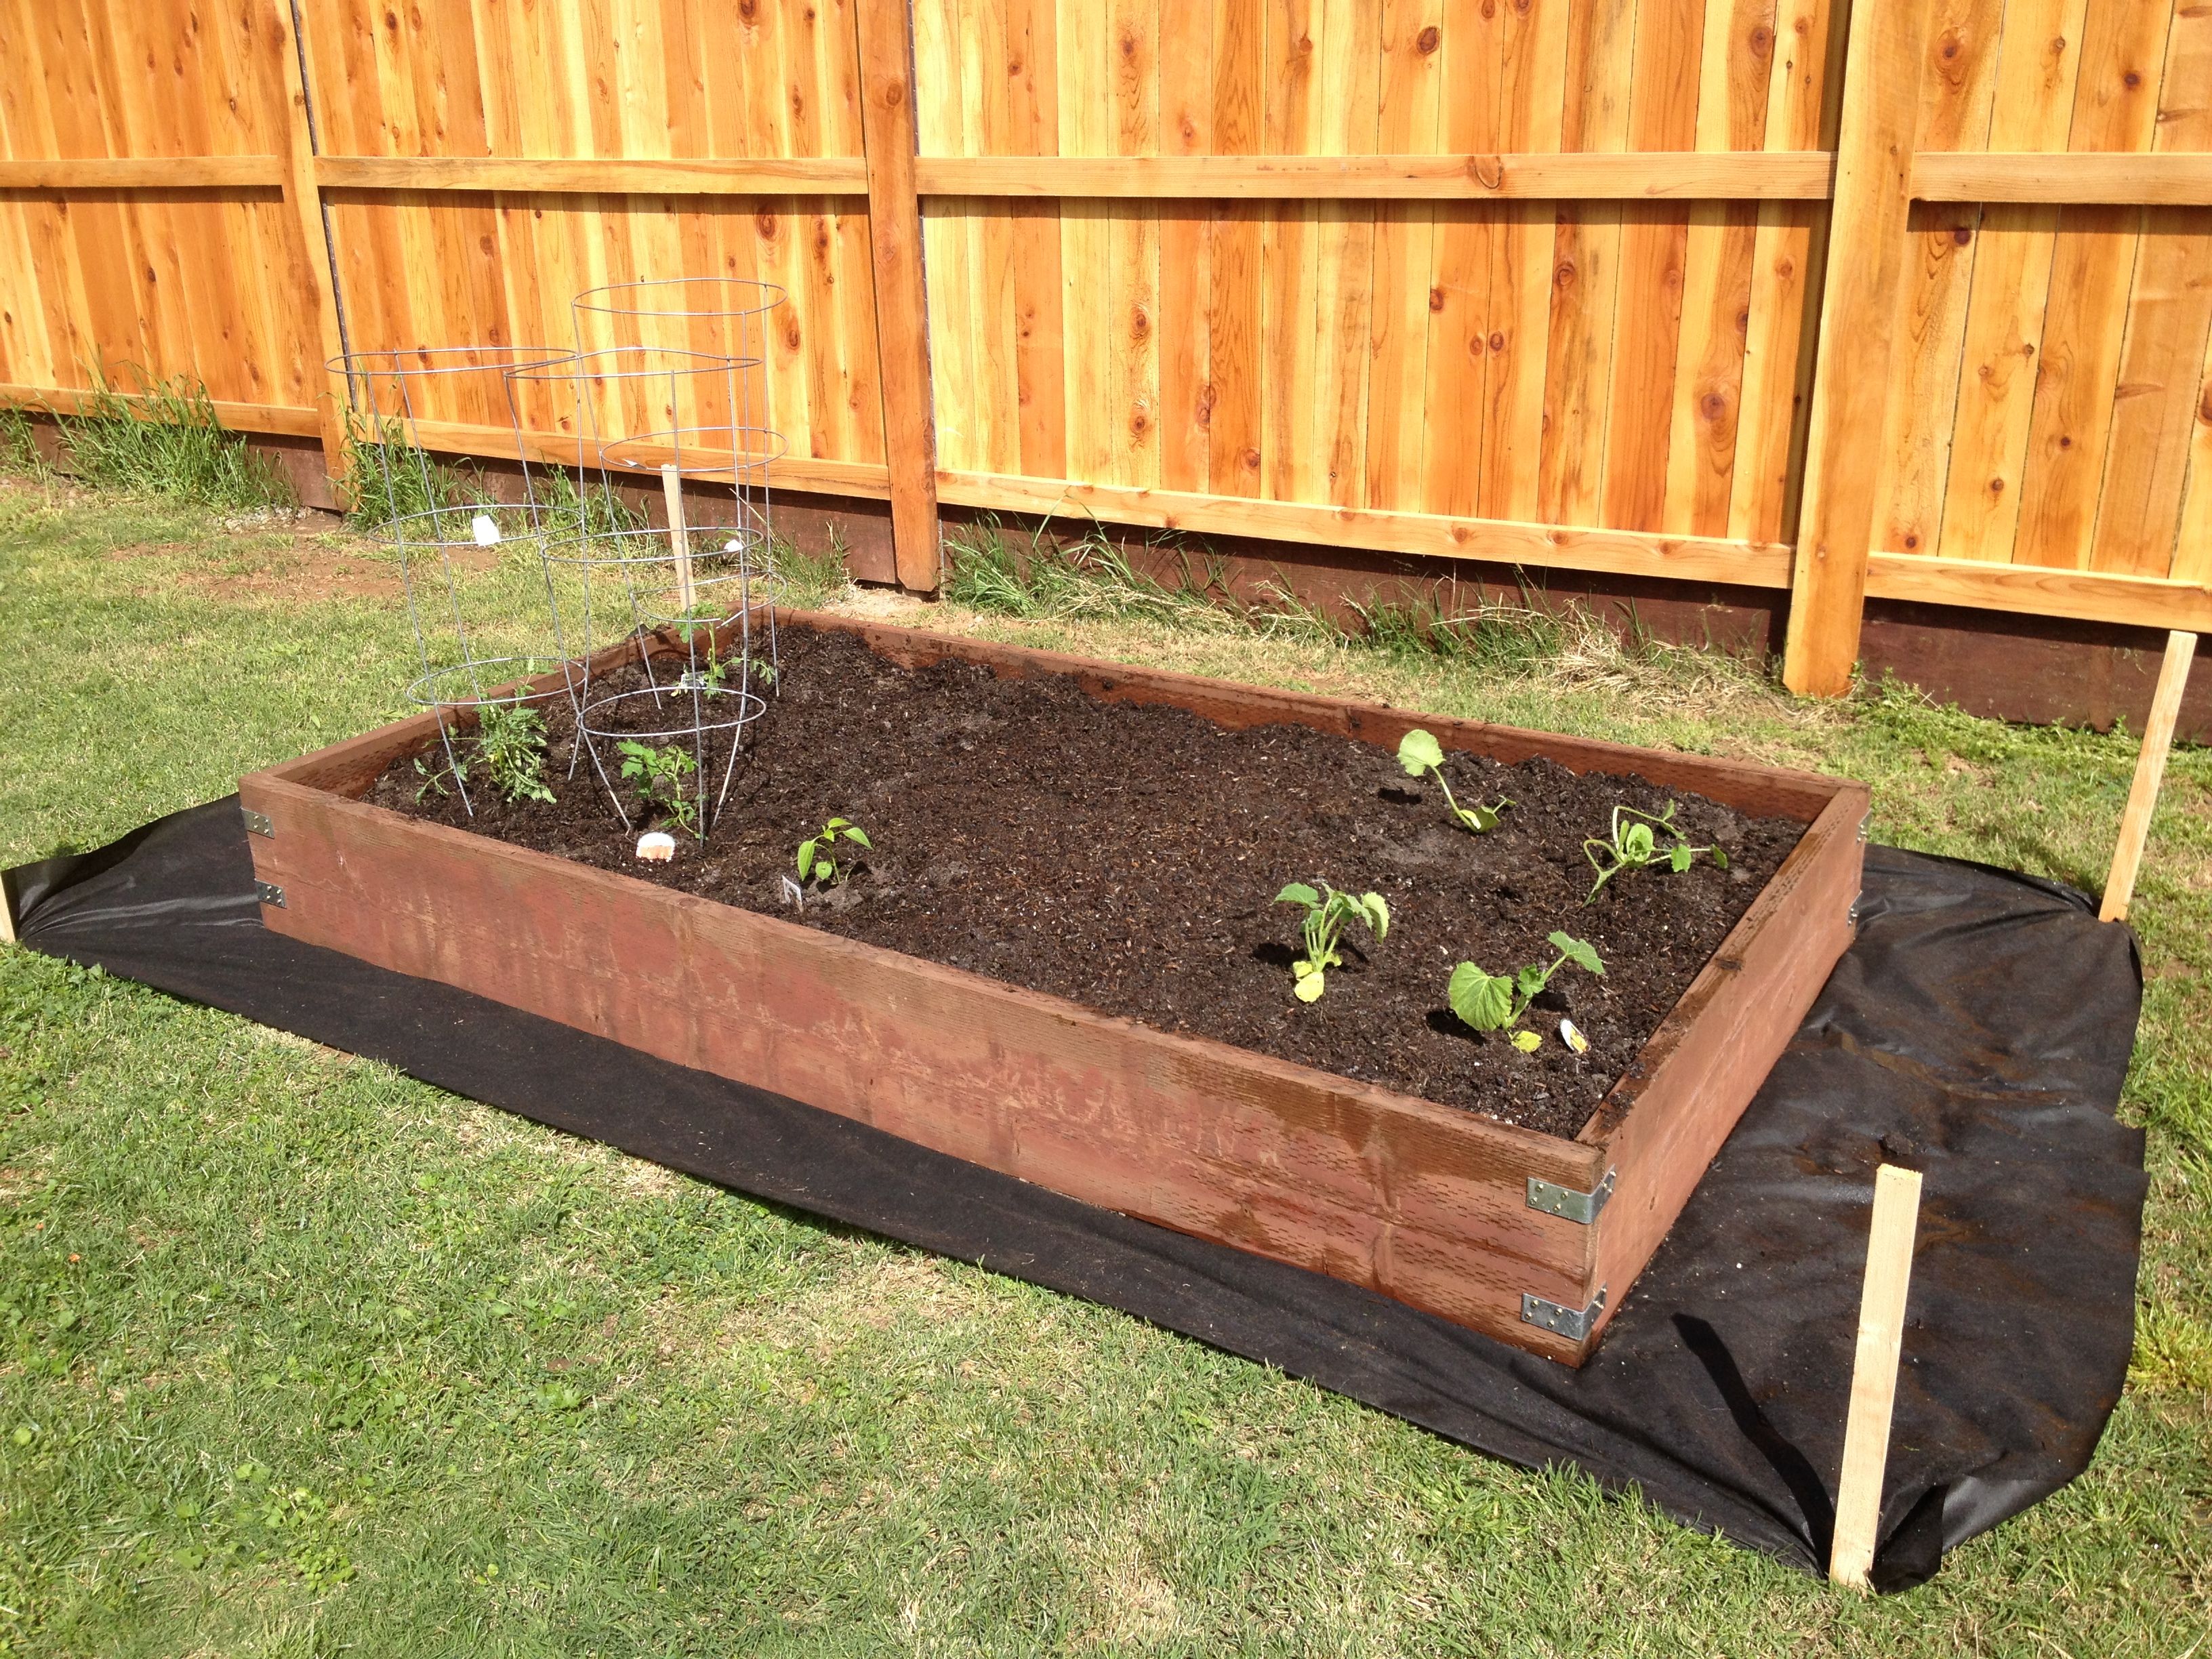
Step 7: Build Your Raised Garden Bed Once you've leveled the ground, you're ready to start building your raised garden bed. Follow the manufacturer's instructions for the specific type of raised garden bed kit you're using, or if you're building your own, use wood, bricks, or other materials to construct the frame. Make sure to use a level to ensure that the frame is level and secure.
Step 8: Add Soil Once the frame of your raised garden bed is in place, add soil and any other necessary amendments to create a nutrient-rich growing environment for your plants.
Leveling the ground with a plate compactor is an essential step in building a raised garden bed. By following these steps, you can ensure that your raised garden bed is level, stable, and will provide a healthy growing environment for your plants.


